
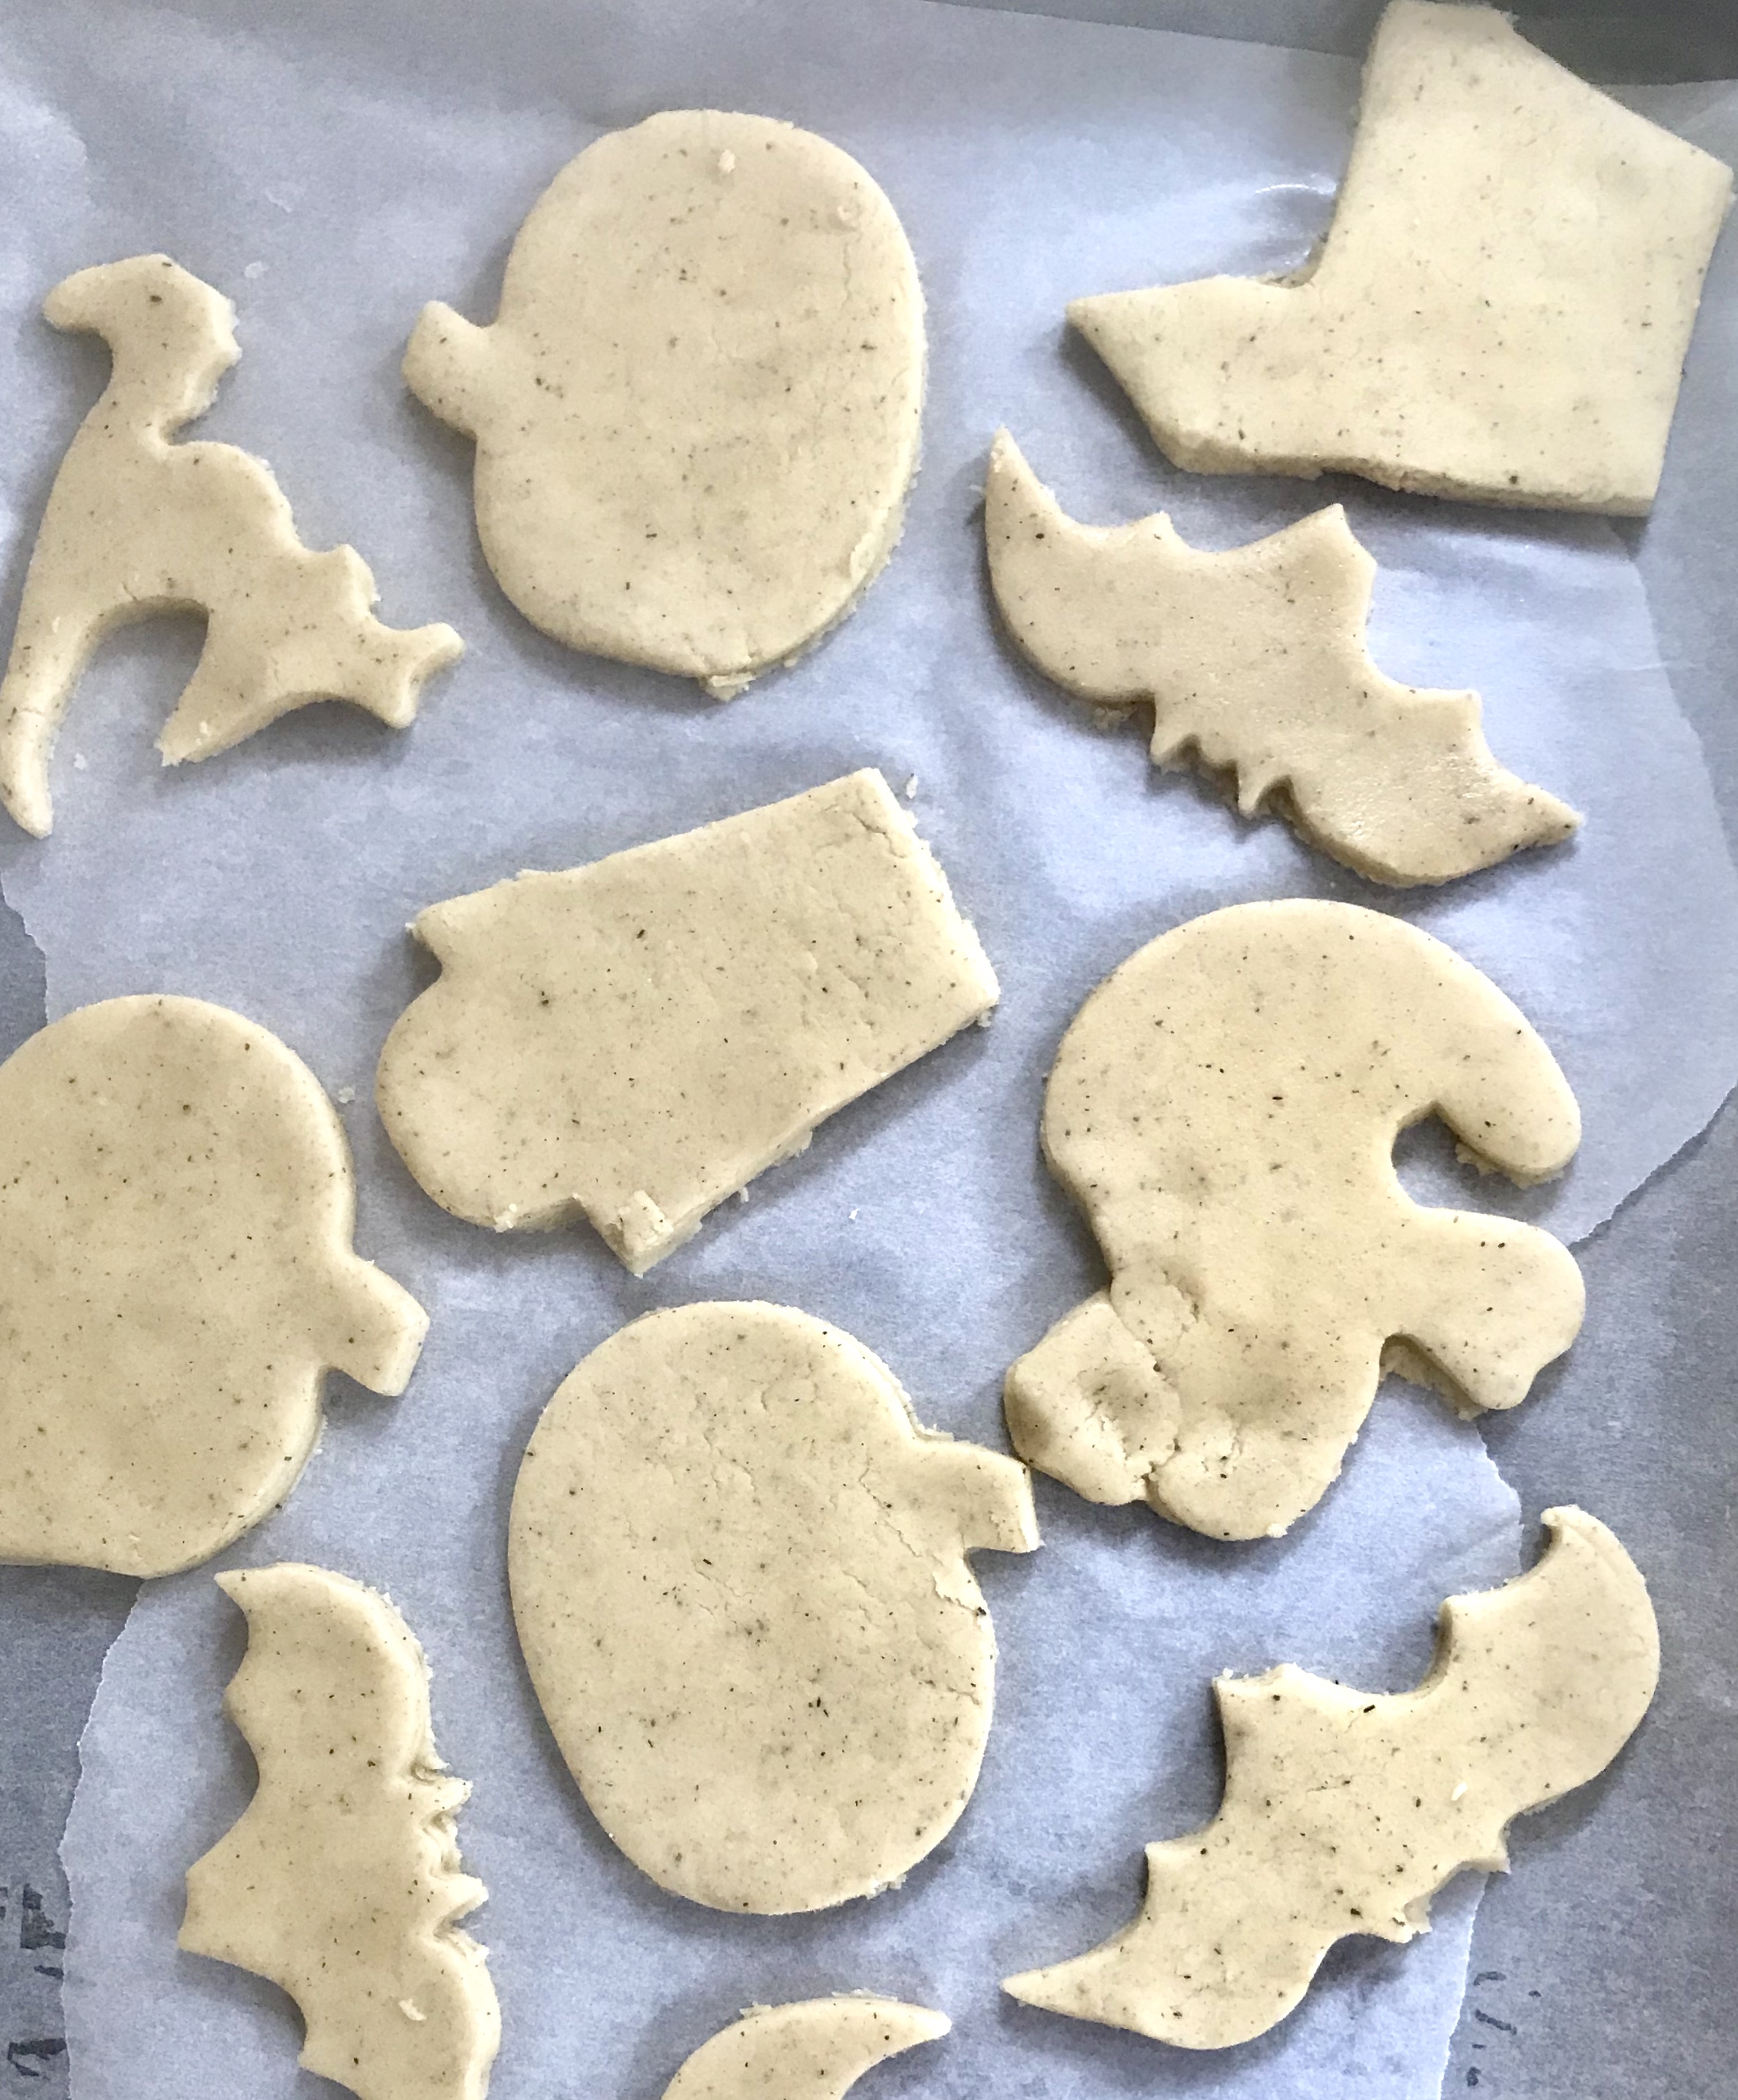
This is my favorite vegan sugar cookies recipe- it super easy and effective for a quick healthy sugar fix. My kids love to make them because its a bit like playing with playdough- you roll the dough out and cut shapes with the cutters so its a great family activity and make great presents. (more…)
Author: Irene Arango
-
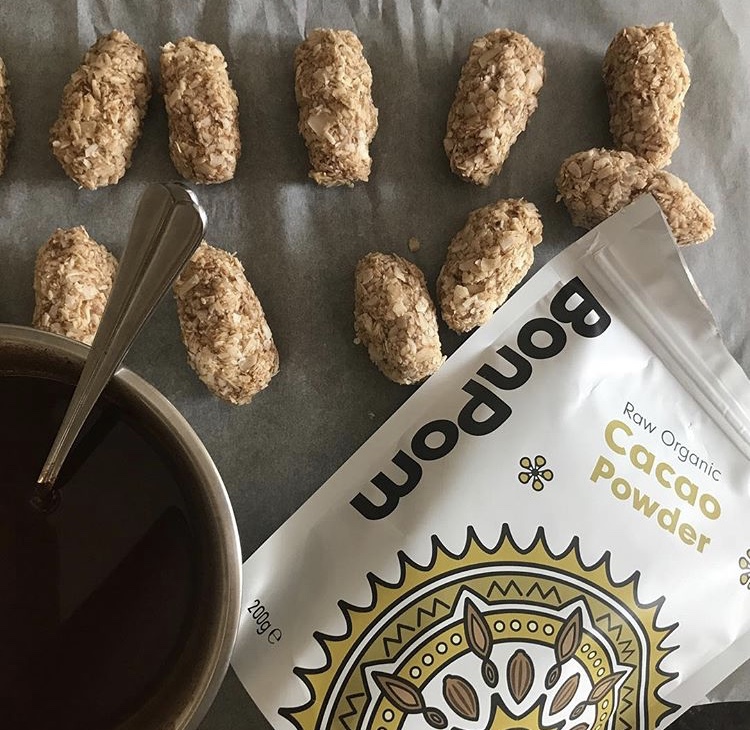
Bounty style coconut treats
On Friday afternoons, a group of local parents get together to let the children play and for us all to unwind as a community. For these events, when they are hosted in a private residence instead of the upstairs room at the local pub, I like to bring some healthy treats for the parents and the kids. For the first ever one we had, I made these quick and yummy bounty style coconut treats with Ariana’s help. They were all gone rather quickly and a few mums asked me to share the recipe with them as they were popular with the other kids, so here we are.
-
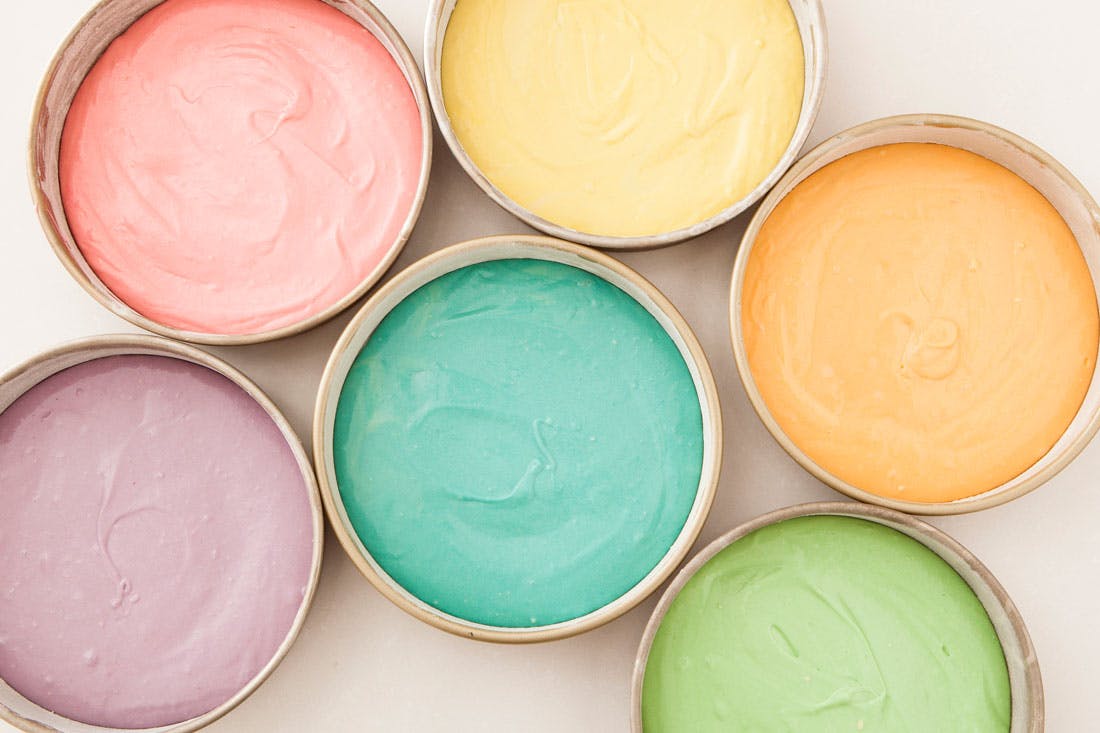
Homemade Natural Food Colouring
In the last few months, since Ariana started to want to decorate our cakes, cupcakes and cookies with colours, I have been trying to find a brand that I could trust and had no dubious ingredients. I am not sure you are aware, but the commercial brands out there are full of not very nice (to not say nasty) ingredients, (more…)
-
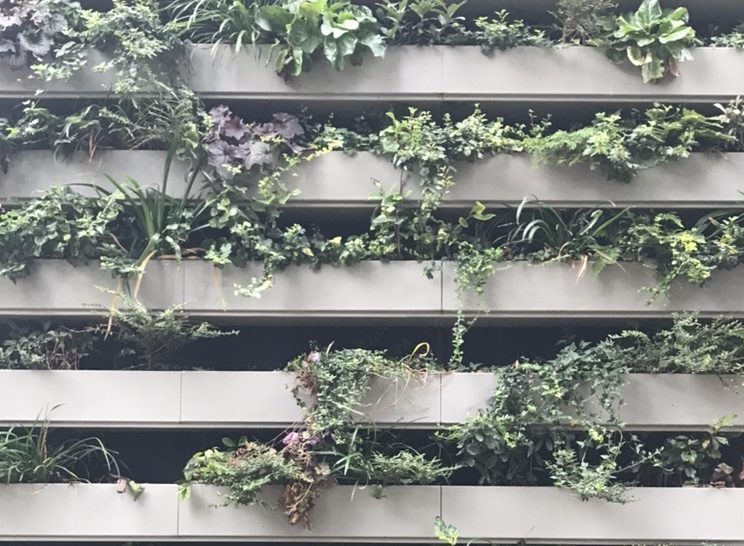
Living Plant Walls- are they good for a private garden?
A couple of days ago, I passed by this wonderful wall close to Paddington Station and spotted this beautiful living wall. That little stretch on the side of the Canal is full of street art and inspiring views and architecture. I love walking by the Canal, checking out the little boats (one of which is actually home to a dear friend of mine!), seeing the swans swim by and people strolling around enjoying the walk. It always feels like a little break from the city. (more…)
-
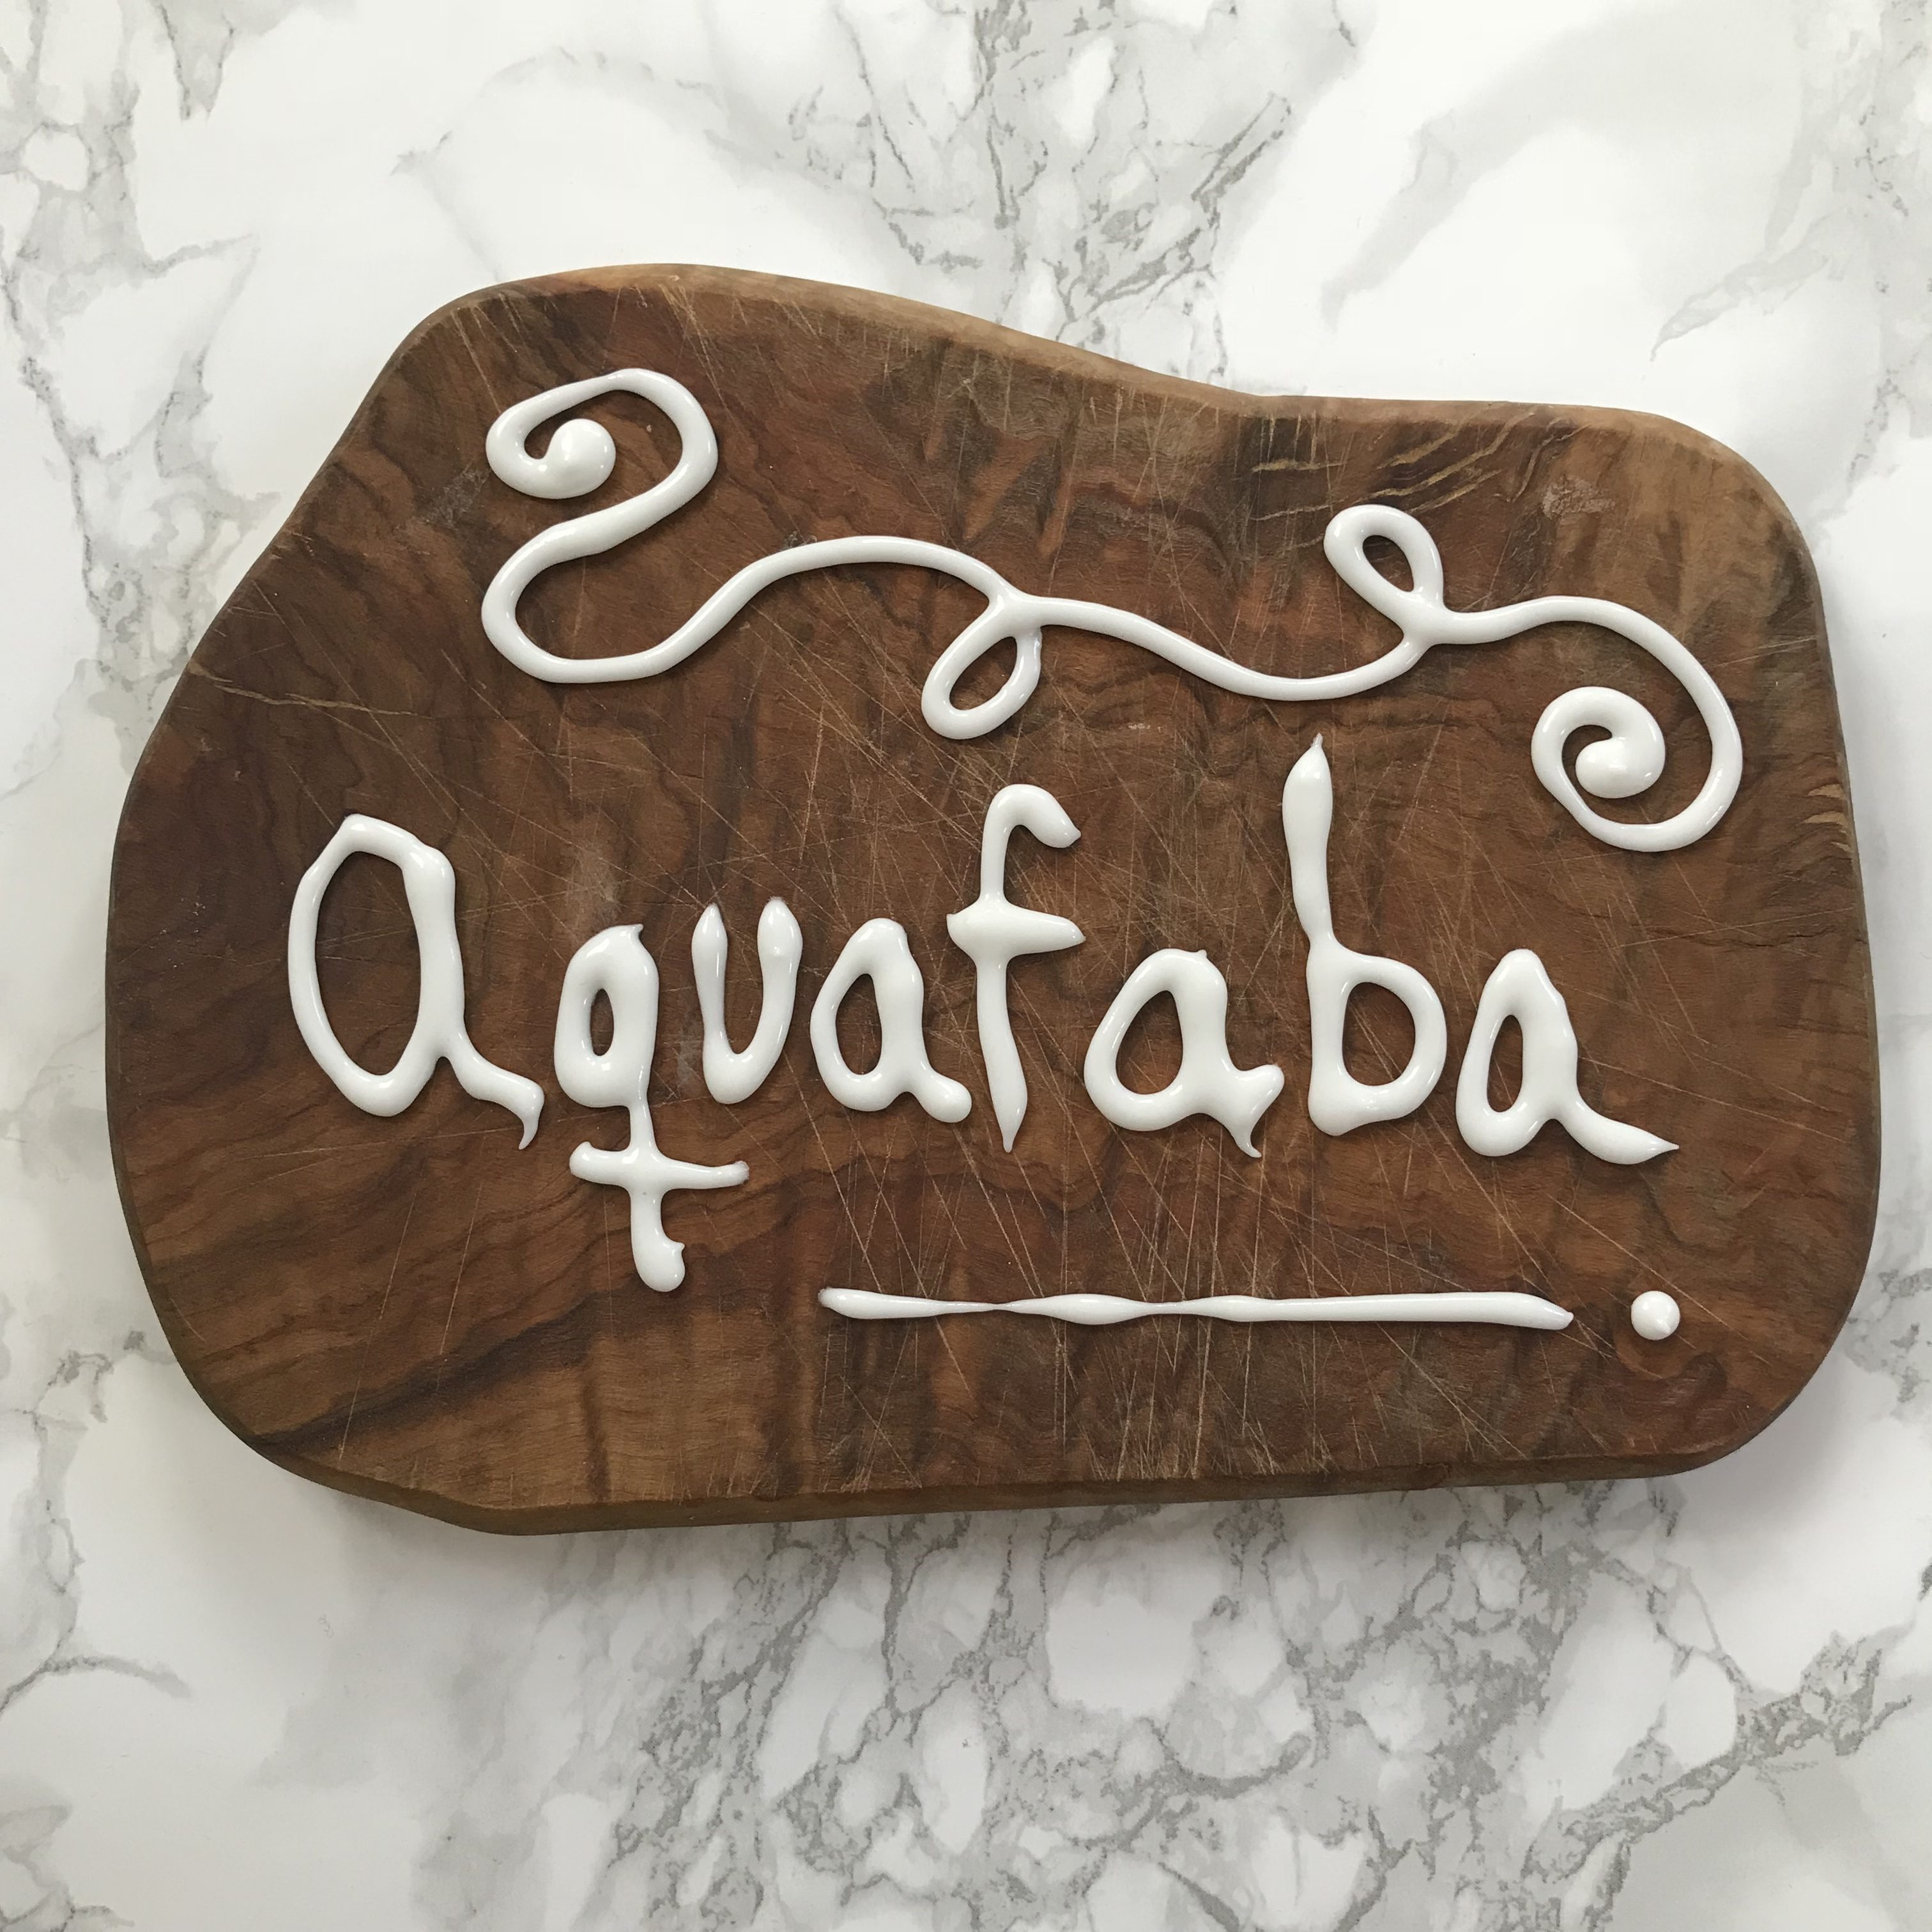
Vegan Aquafaba Royal Icing
To make temperature stable decoration for our vegan cookies and cakes, we usually make a vegan aquafaba royal icing. It is super quick and easy to make and it works very much like regular royal icing. (more…)
-
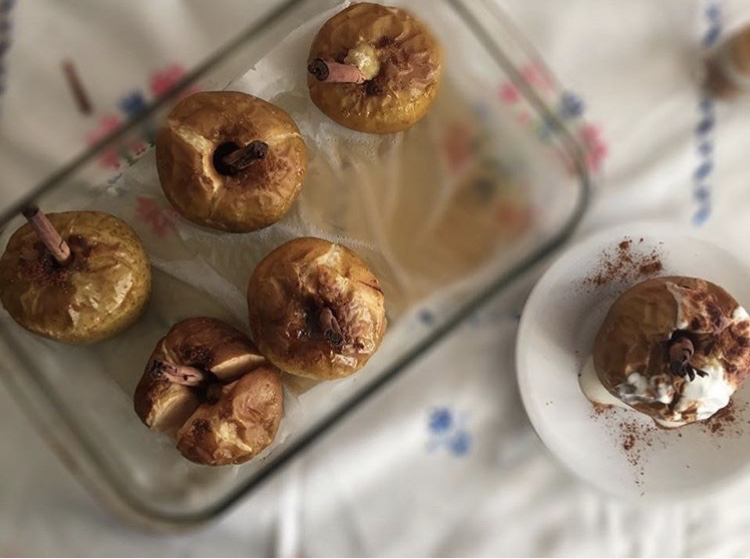
Autumn baked apples with cinnamon & cashew cream
My mum is an excellent cook. She has pretty much, ‘veganised’ all her family cooking repertoire to adapt to our eating ways. I am pretty impressed of what a fabulous job she has done as some of these dishes are very much meat based. I truly think achieving such a spectacular flavor as she has done has a lot of merit! (thanks mum)
This recipe is not of those those, though, but it is a recipe my mum adores and we made together for dessert while I was visiting them. We used my mum’s favourite apples, the Reineta variety, but can be made using other apple types. Large apples seem to do a better job though. In the UK, Braeburn and Granny Smith are my favorites to use.
Baked apples, are delicious this time time of the year, with apples bought at the Farmers Market or picked from the garden (or in my case, from the neighbors garden). They also pair well with coconut yogurt, banana ice cream, oat cream… you name it!
These are topped with homemade cashew cream and they were super delicious and filling.
You will need:
1 large apple per person
1 tablespoon coconut oil per apple, melted
1 1/2 tablespoon coconut sugar per apple
1/4 tsp cinnamon per apple
1/8 tsp vanilla powder per appleHeat the oven to 160/180 degrees. In a bowl mix the melted coconut oil, cinnamon, vanilla & coconut sugar. Remove the core of each apple without taken the bottom off so you create like a little container inside the apple. Place the apples into an oven safe tray and fill the holes with the coconut oil and spices mixture. We also like to put a cinnamon stick inside the apples, looks fabulous! Bake for around 15minutes until the sugar start to caramelize. To serve, you can add some coconut yogurt, cashew cream or similar over the top. Best eaten while warm but they are also pretty amazing cold 🙂
-

New friendships and children
In the last couple of years, particularly, since the kids came along, I have come to realize the importance of friendship. And I don’t mean the ‘easy kind of like friendship’ we nowadays have with other parents kids at pick up, or with neighbors, I mean the true, hardcore, ‘I am always for you here’ kind of friendship. Those are not easy to come by…
I consider myself lucky, as I do have a good handful of friends that I can count in that category, even now that i am living outside my home country (Spain) or my adopted country (Argentina). These new friends are there for me no matter what, to help, and listen, and also to celebrate. I do feel that, whatever your life situation, it is important to have some of these friends. It can more difficult as we get older to forge true lasting relationships, but I have to say that it is possible. I feel I have made wonderful friends at these ‘pick up’ times at the nursery. Women that I can count on if I am late to stay with my kids, to feed them dinner, to make them feel safe while I get to them. To these women, I thank for helping me to feel reassured that my kids and I are welcome in their homes and their lives. They truly make life easier and my heart warmer.
-
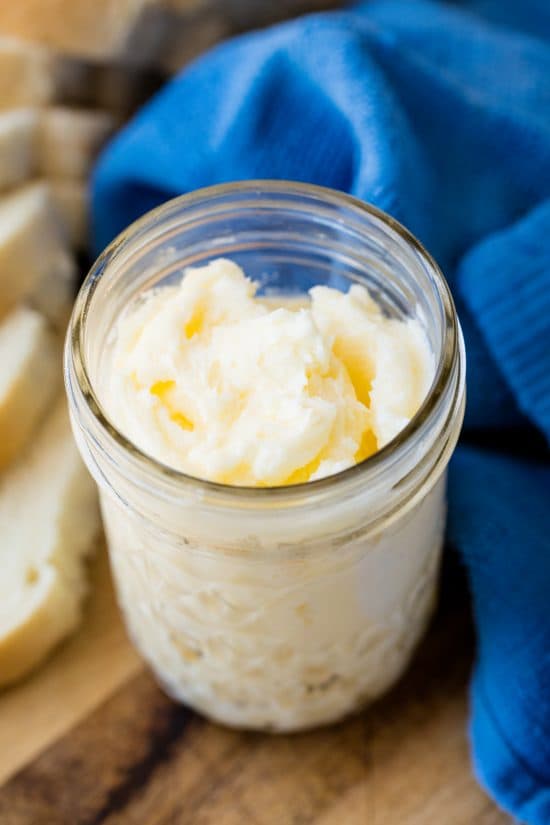
Aquafaba Butter
The day I discovered aquafaba butter, my baking changed for the best! For a long time I relied in using either coconut oil or vegetable spreads in my cooking, but no more! I started experimenting to make vegan butter with aquafaba and oils a while ago and I am happy to report that this recipe works in all my baking, the same way as dairy butter would. I am amazed at how well it works, really. And its quick to make and stores well in the fridge- bonus!
-
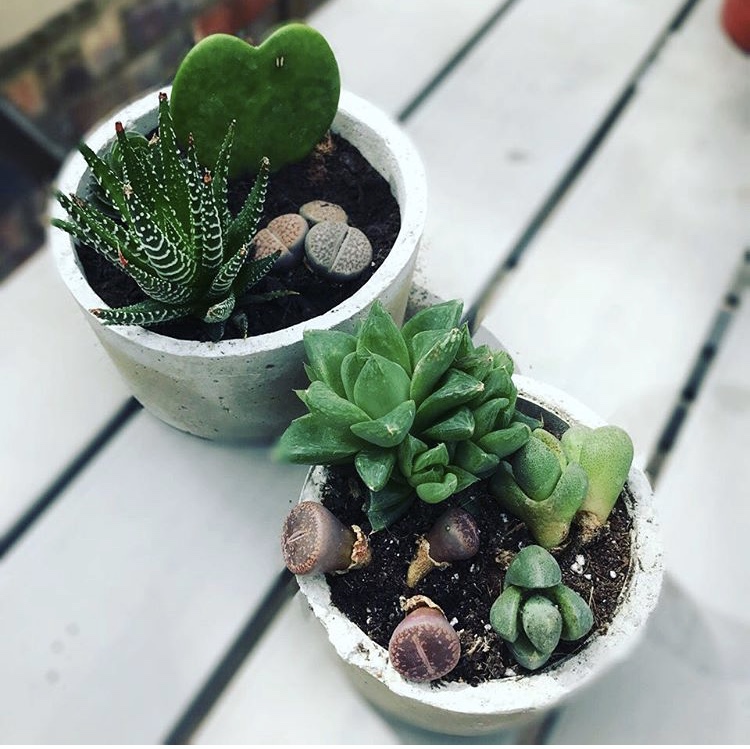
Working with concrete for succulent planters
One of the projects Ariana and myself enjoyed the most this summer, was making these super cool concrete planters. It was fun (and easy) from beginning to end- choosing the paper and plastic containers for the shapes, choosing the plants for each, mixing the concrete with water and finally, assembling the whole project together! Oliver just watched us through the whole process highly uninterested, but I am hoping to get him engaged in our craft making soon 🙂
There are different ways to make concrete pieces; you can buy the ready to mix powder, like Breton (which we did on this occasion) or mix the concrete with sand yourself to various proportions.This lat option is certainly the way to go if you are planning to do larger pieces because the other mix would be too expensive. I have been looking for a white coloured concrete for a project I have in mind and it seems Snowcrete is widely available, but regular concrete would do for a grey looking finish.
Making these super cool pots didn’t take long at all (except the waiting time for the concrete to dry!) and it was super easy. I mean, Ariana is 3 and she managed to get them done almost by herself. All you need to do is to choose two containers per pot. The larger one will make the outside of the pot determining both the size and shape of the final product. The smaller one, will set the size of the interior of the pot and that would be the space that you would have for your succulents. We are not leaving a drainage whole, so bear that in mind when choosing the plants to go inside.
Mix your concrete powder with water as specified in the instructions, foil the pots you are going to use to make it easy to remove them once the concrete is set. You will need to oil the inside and bottom of the larger pot and the outside and bottom of the smaller one. Fill the larger pot with the mixture and press down the smaller container inside to create the hole. Clean the top of the pot or flatten the concrete on the surface for an even finish. You will have to weight down the inside pot as it is difficult to keep it down without applying pressure. It is also a good idea to tap the container a few times on a hard surface to help the bubbles to come up making sure the whole pot is even and stronger without any air pockets.
Leave the pot to dry for 24 hours and remove (or peel) away the containers. Fill them with soil and plants and they are ready to decorate your house or to give as a gift to someone else. We made one for us and one for Tia Hele (The kids adoptive auntie here in London). She LOVED it 🙂
-

Thanks for reading 😉
I am not sure why I have decided to start this blog. Probably because I have been inspired by so many wonderful mums and business women out there that I felt that somehow I also should contribute with my knowledge and experiences.
After a few years living a (mostly) vegan lifestyle, raising our kids to be plantbased, keeping them healthy the natural way and living as much as possible an organic and waste free life, I have accumulated a few cool recipes, ideas and tips that I think many of you would like to implement as well. Anything to make our lives easier right?
For being here and reading my words, today typed on my phone tucked in bed, thank you! it means the world to me that you have made the time for it. I know you don’t have a lot of it to spare…
Love & light,
Irene
-
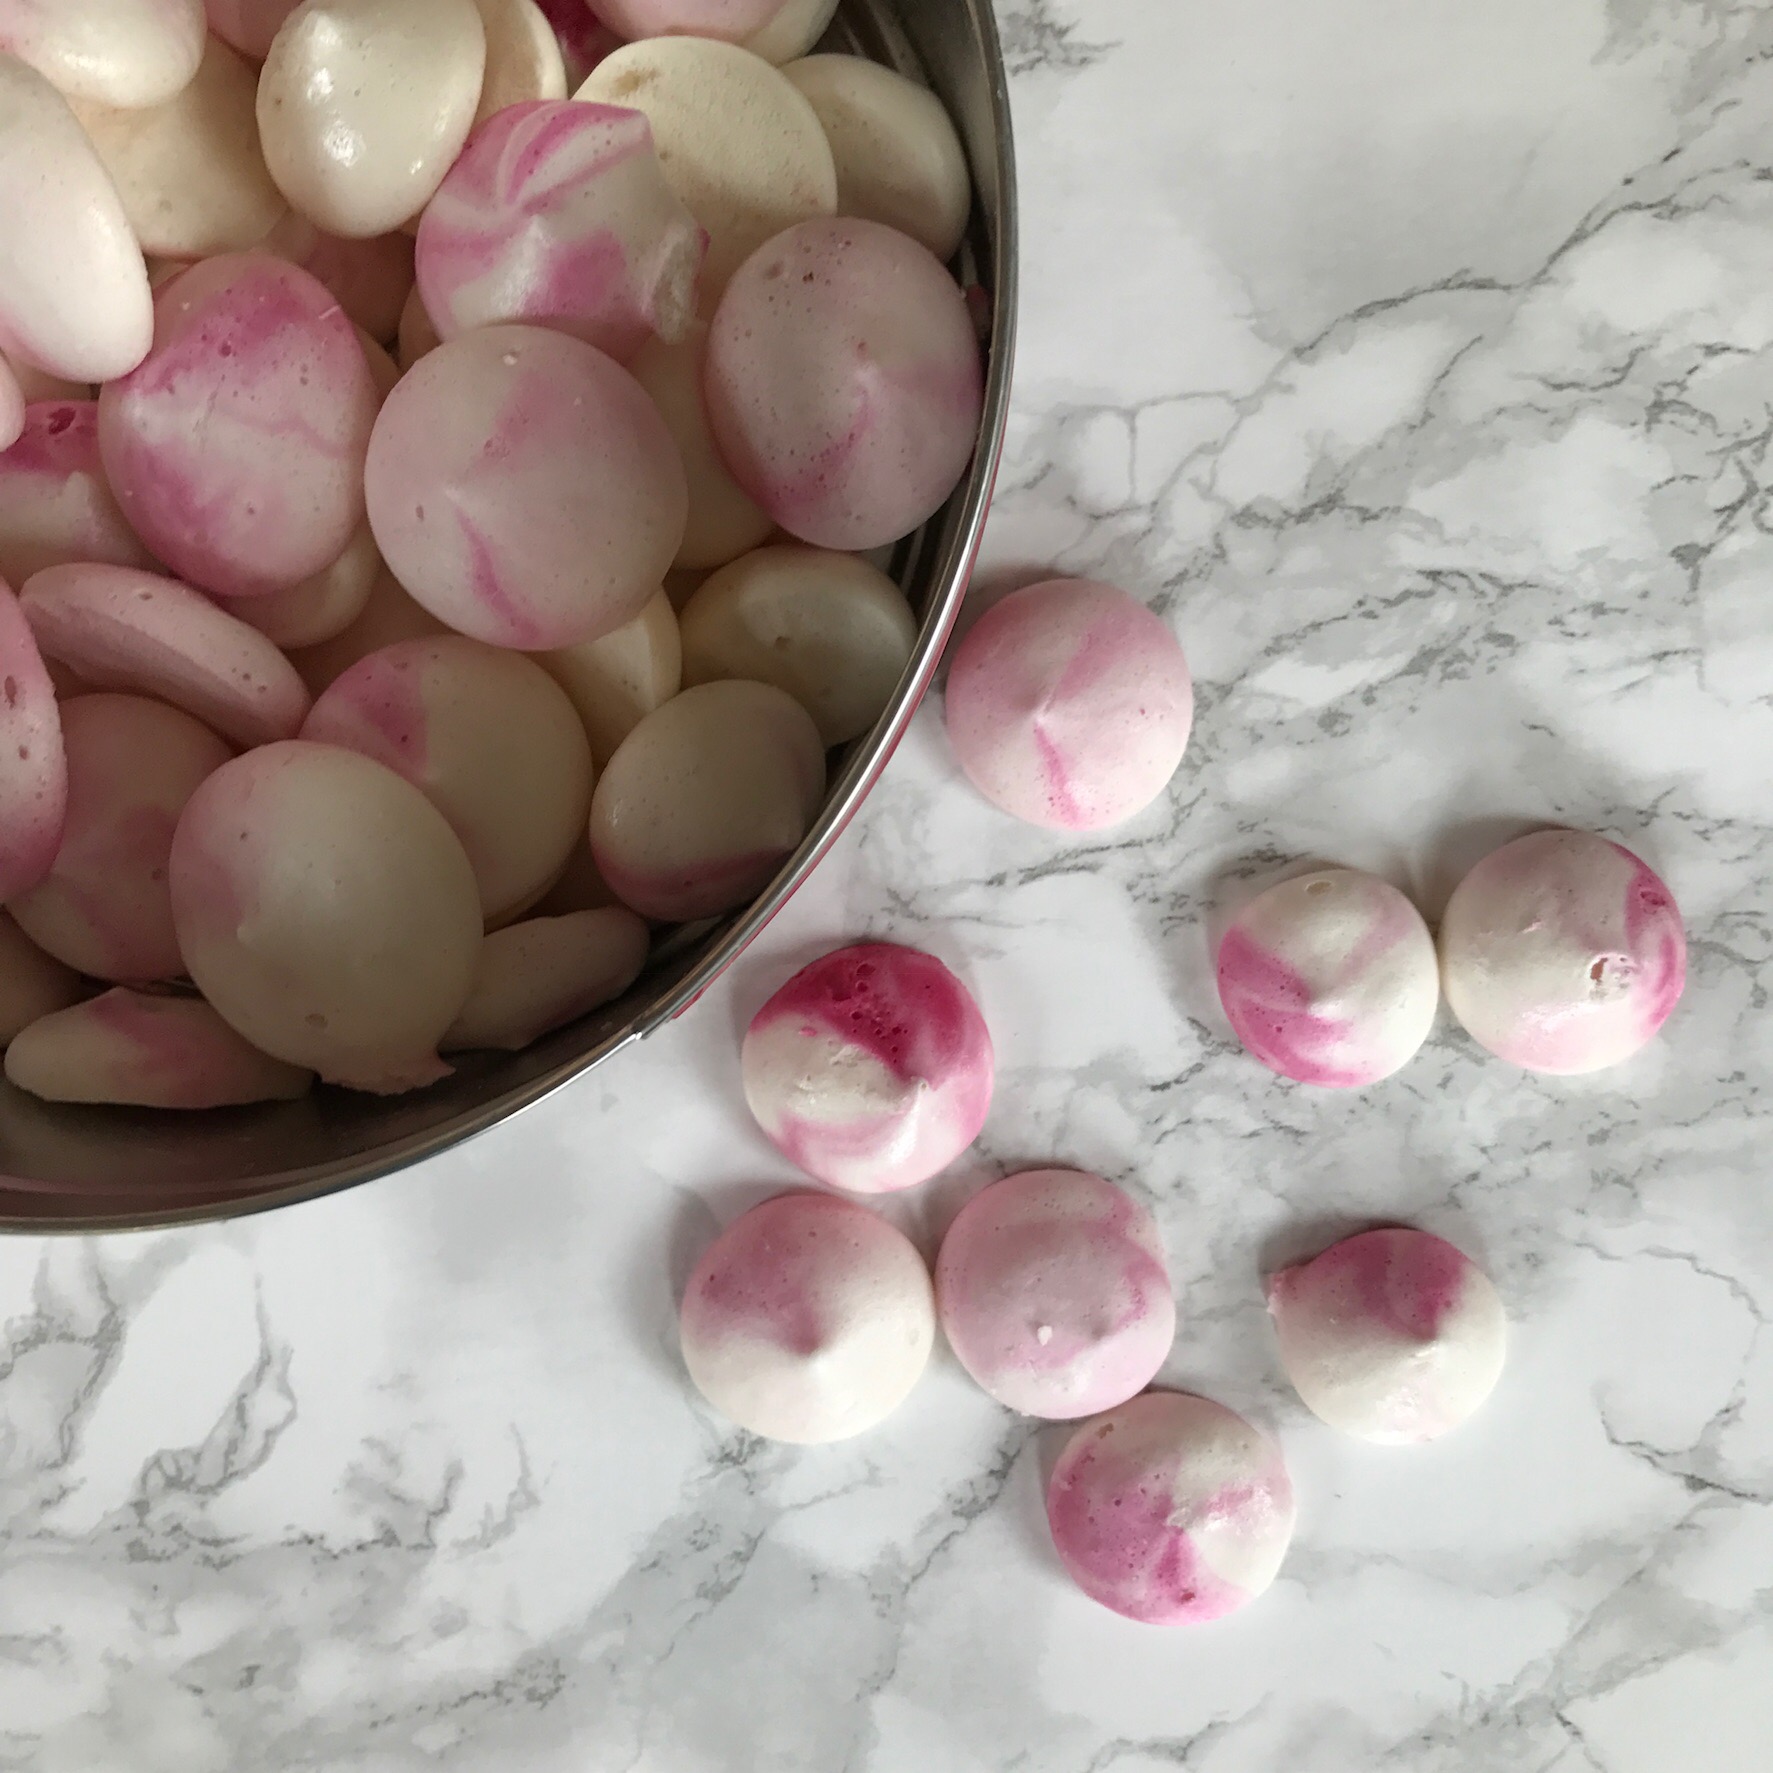
Vegan Meringues- yes they exist and are super easy to make!
I must say that I have never been a fan of meringues. The fact that they are made with egg whites has always been off-putting, even when I was still consuming meat and dairy products like there was not tomorrow 😉 but I have now re discover them through the upcoming trend of aquafaba.
‘What is aquafaba’ you might wonder. Well, you would probably be surprised to know that is the liquid you (most likely) throw down the drain every single time you open a can of beans such as chickpeas, butter beans, pinto beans… It’s the by product of boiling chickpeas, the water left over from the boiling process that contains all the starches, proteins, and other soluble plant solids released by the grains or beans. It has pretty amazing properties as an emulsifying, foaming, binding, gelatinizing and thickening agent in cooking recipes. It’s kind of like egg whites and it is a natural replacement for these.
Since I discovered aquafaba (which actually means, literally, bean water) I have been experimenting replacing eggs in recipes instead of using chia or flax. it kind of works, but I find that the recipes usually need something else to bind properly. For example, cookies are a bit too crumbly for my liking if I don’t add some flax meal as well.
So, back to the meringues- these are sooooo easy to make. They only negative is that you have to wait until they are baked (or dehydrated!) and it can take a fair bit. To make sure the meringues don;t deflate, you’ll need to use the oven at a maximum temperature of 100 celsius. It is very important that you have an extra thermometer in your oven like the one here to make sure the temperature does not get higher than that. The dehydrator is a great and safe alternative to the oven if you have one (and the patience to wait for them to be ready!).
Without further adue, here there is the recipe that Ariana and me have made work every single time we have made them:
Aquafaba Meringues
1/2 cup liquid aquafaba
1/2 unrefined cane caster sugar*
1/2 tsp white vinegarIn a deep bowl or container or a mixer bowl if you have a proper baker mixer, put the quafaba liquid and beat it until it becomes creamy and forms soft peaks (meaning it starts to make shapes while being beaten). Start adding the sugar, one tablespoon at the time and beat until the peaks are not dropping once you lift the mixture up. the proof of fire is to turn the bowl over. If your mixture is still inside the bowl and not all over your counter, you are ready to pipe those meringues 😉
I say pipe, but you can also choose to simply drop dollops of the mixture into an oven safe tray covered in greaseproof paper. I do own a piping bag and Ariana seems to love to make a mess while using it, so we gave it a go. I forgot to say that ours are slightly pink because it is Ariana’s favourite colour. I saw online that you could use food colouring in part of the mixture but we don’t use that, so we went for beetroot powder mixed with a bit of water. The next time we are planning to use turmeric for yellow, matcha blue for blue colour and spirulina for green to make rainbow meringues.
* caster cane sugar can be easily made at home by simply blending unrefined cane sugar into a more powdery texture.
-
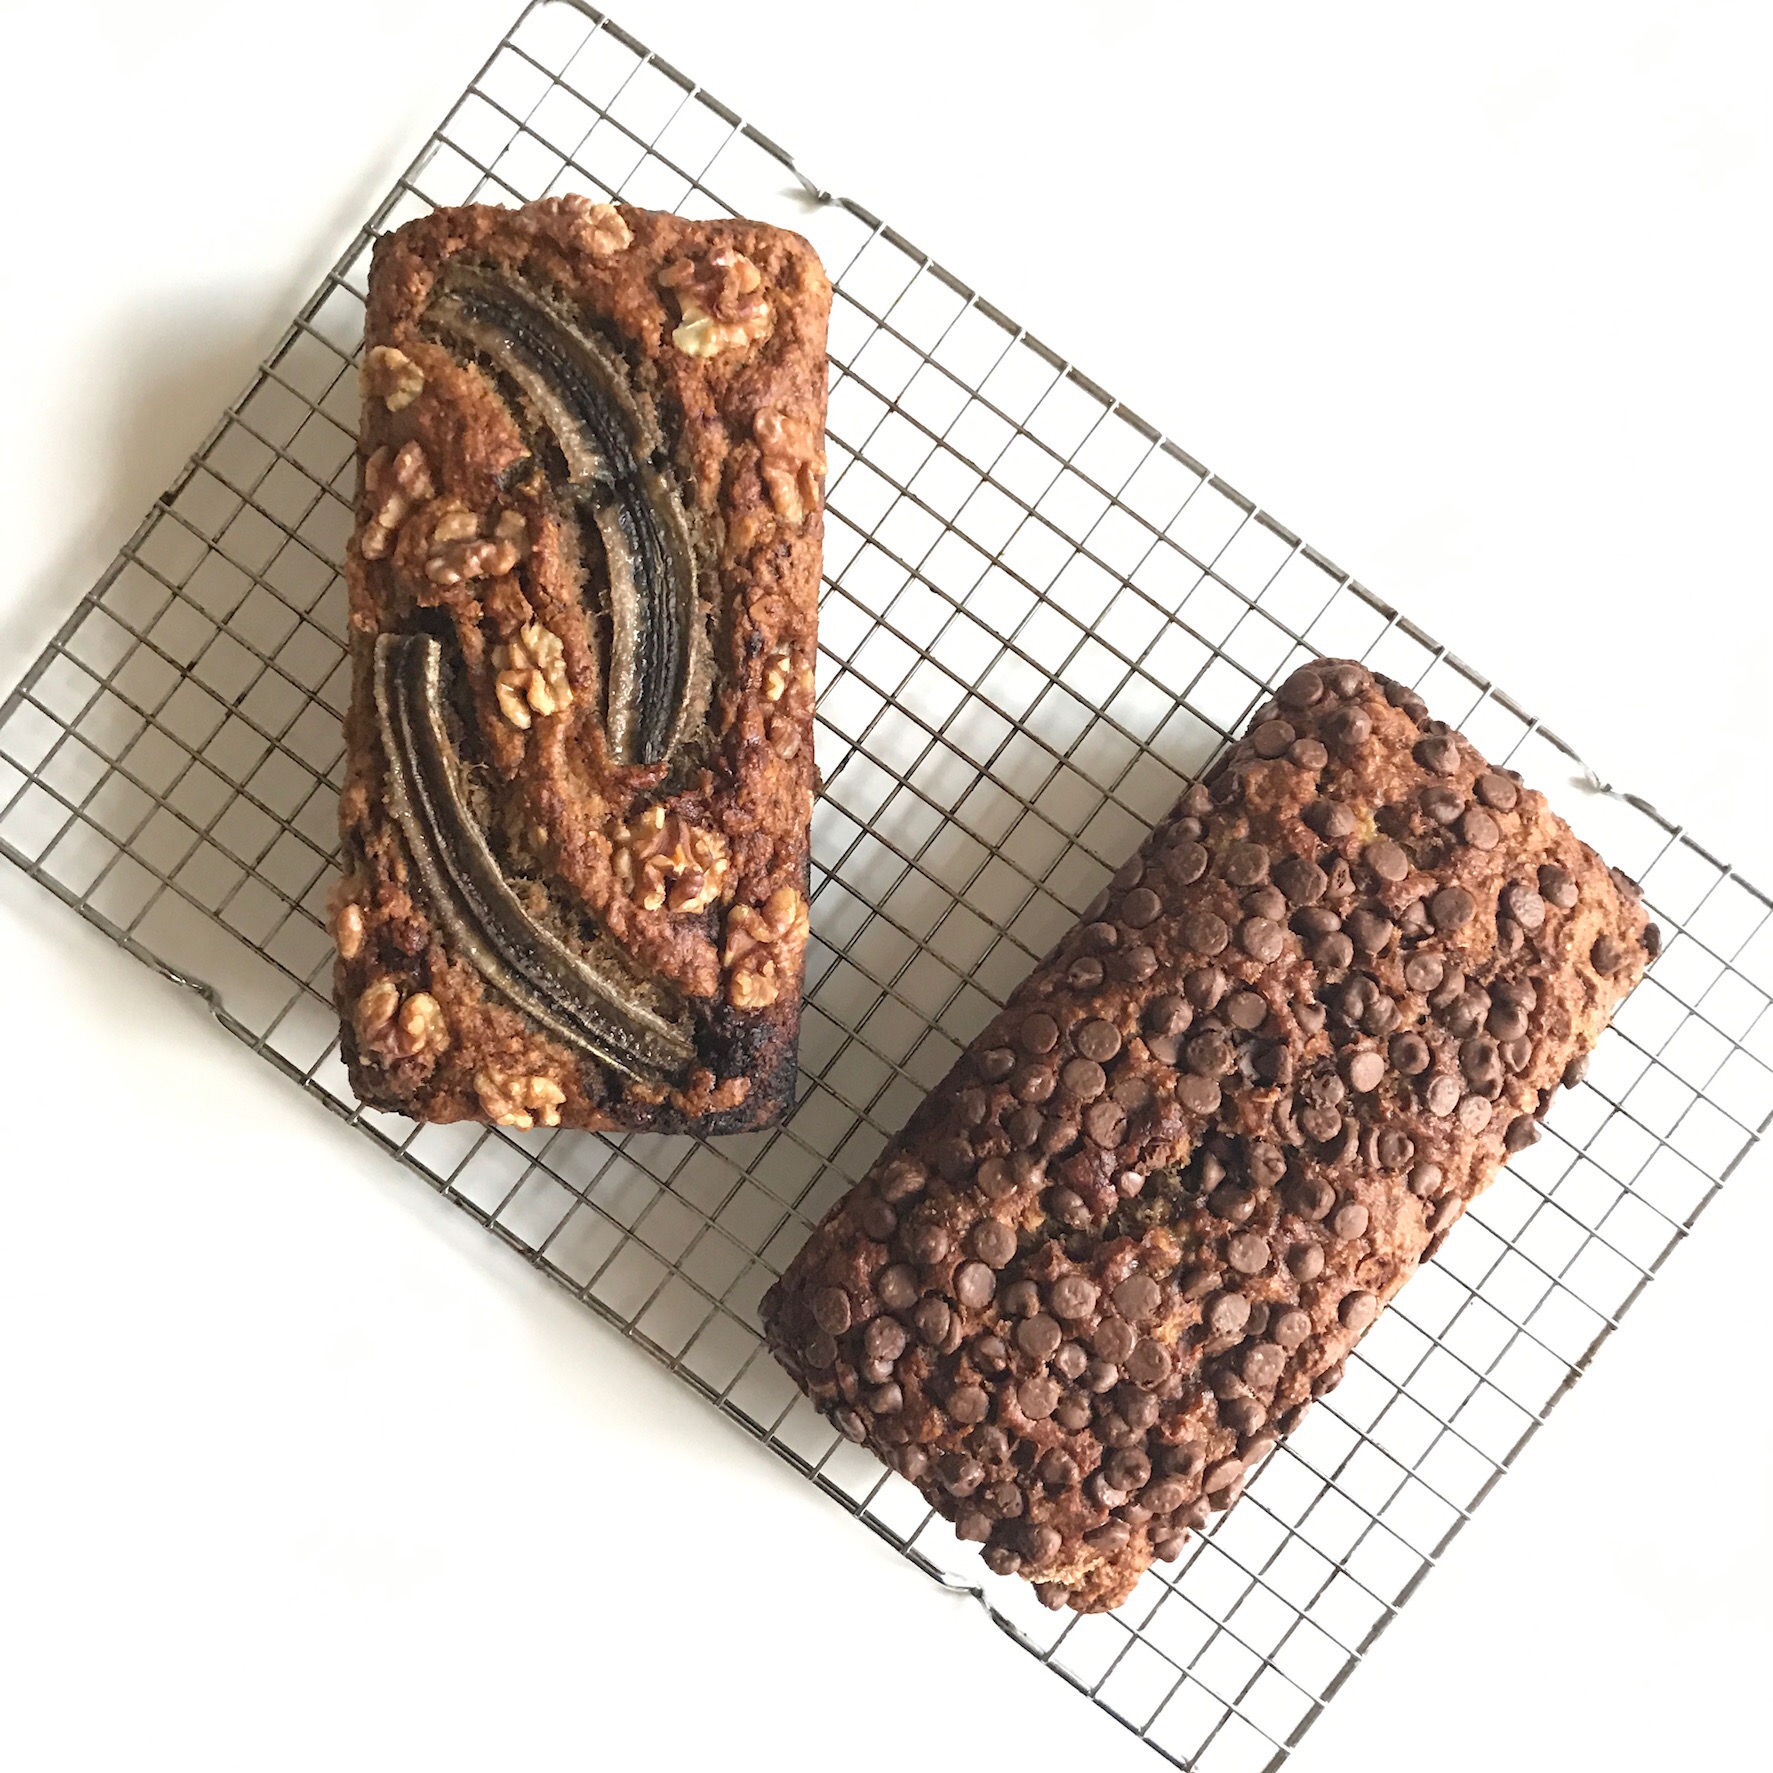
Moist vegan banana cake
Making vegan banana cake is one of those things that I pretty much let the kids do by themselves (minus the weighing and putting into the oven part). A few simple ingredients and voila! a delicious, moist and filling afternoon treat is sorted.
A while back we made this vegan banana cake for our Friday Family Neighborhood Meet Up and it disappeared in a very short time. Both adults and kids liked it because it wasn’t overly sweet but the moisture on it from the liquid sweetener and the very ripe bananas really worked well. Ripe bananas is a high in demand in my household as we use them for so many things- smoothies, cakes, ice cream… you can get an idea of the amount of ripe bananas needed here! I keep a big stash in the freezer and some in the counter at all times.
I like using wholegrain flours and other grains to make them more nutritious. If you haven’t used quinoa flakes before, you are in for a treat. They are naturally gluten free and they bring a very nutty taste to the table. I’m currently in love with them 🙂
1 1/2 cups of mashed ripe bananas (4-5 bananas)
1/2 cup oat milk (use cashew or almond for gluten free)
2 tablespoons chia powder (or flax seed powder)
1/4 cup organic coconut oil, melted
2 tablespoons rice syrup*
1/2 teaspoon baking powder
1 1/2 cup spelt flour
1/2 cup quinoa flakes
1/2 teaspoon vanilla powder
1/4 teaspoon of Himalayan salt
1/4 teaspoon cinnamon powder
Vegan chocolate chips- I made these myself as it is more cost effective, but there are also available online and in health food shopsMash the ripe bananas in a bowl and add the rest of the wet ingredients to make a paste, then add the dry ingredients (except chocolate chips) adding the chia powder last. Fold in chocolate chips and pour into a loaf tin (previously greased with coconut oil) and bake for 45-55 minutes in the middle of the oven. I usually turn off the oven at 45 minutes but let the cake cool down for another 15 minutes. When you press the top and it bounces back it is perfectly cooked. At that time you can take it out of the mould and place it in a wire rack to prevent it from getting soggy.
Serve warm or cool- this vegan banana cake its equally delicious either way 🙂
*you can use any liquid sweetener you like or have handy. I use this one because is cost effective in this recipe.