Author: Irene Arango

  • Homemade Eco DIY surface cleaner

    Homemade Eco DIY surface cleaner

    I don’t know if you have heard, but the levels of air pollution inside the house match and surpass the pollution in the streets sometimes! This is due to the massive amounts of cleaning products that we use, like sprays and detergents that contain damaging chemicals for the human body. You can read about indoor air pollution and how it affects our health from the British Lung Foundation

    From the all-surface cleaning spray to the conditioner you put in the washing machine, all those chemicals are making their way into your blood stream through the air or the skin. But as usual, there are plenty of eco and human friendly alternatives in the market to palliate this or you can also learn how to make your own šŸ™‚

    I have slowly started to make changes at home and the first cleaning product that I have tackled is the ever present all surface spray cleaner. This is possibly the product we use the most in the house and I spray it very close to the kids (for example, cleaning the table while they are still around there, even that I have always used eco friendly products) so I felt it was the most urgent to change.

    I have watched and read many articles and blogs on how to make cleaning products and after a couple of tries, this is what has worked best for me, please bear in mind that this spray cleaner does not work on granite or marble (we have quartz surfaces and its fine on those) but you can make the same recipe excluding the vinegar or replacing by fresh lemon juice (filtered after squeezing) if your surfaces are ok with that. Always test your cleaners in an inconspicuous section just in case.

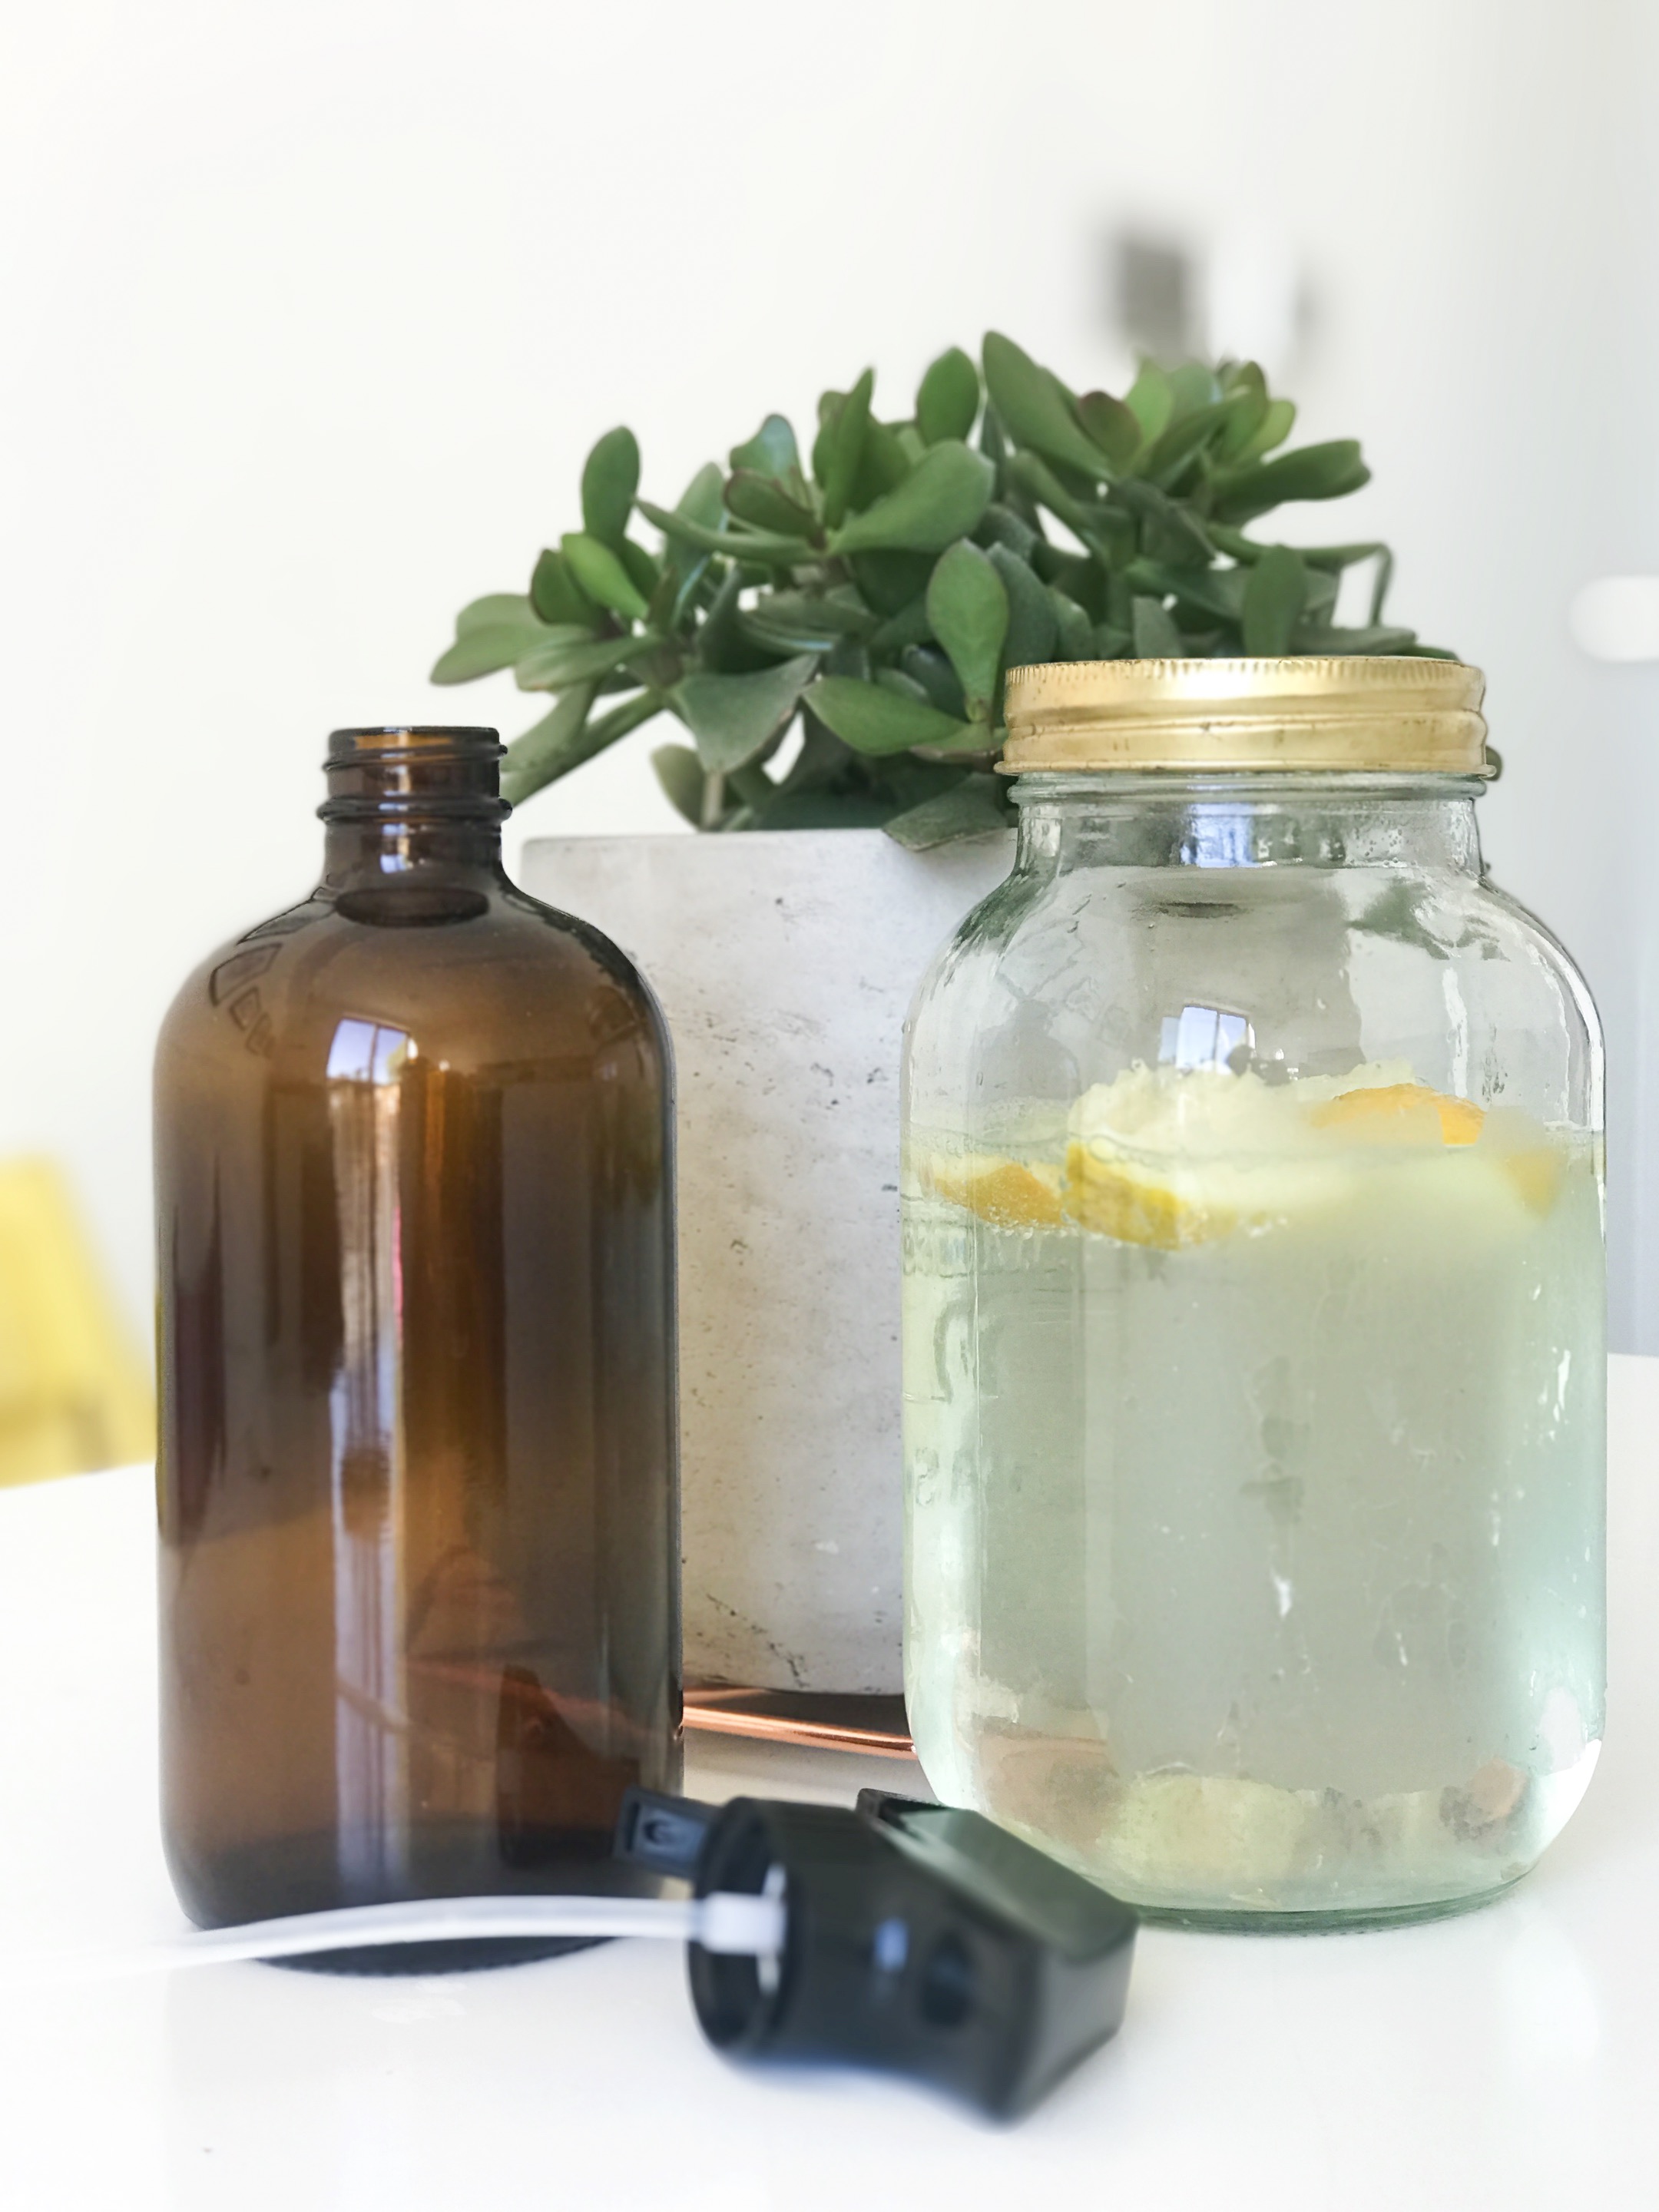
    1 amber glass bottle with spray nozzle ( I ordered mine from here)
    2 cups distilled water (I use the water that my dryer collects with a good result)
    2 tablespoons white vinegar
    2 tablespoons castile soap (like this one)
    1 tablespoon bicarbonate of soda
    10 drops lemon essential oil
    10 drops tea tree oil

    I used those essential oils for their smell as well as for their disinfectant properties. Once the mixture is ready, simply pour it into the bottle and spray away at the dirt!


  • Vegan Crunchy Oat bars

    Vegan Crunchy Oat bars

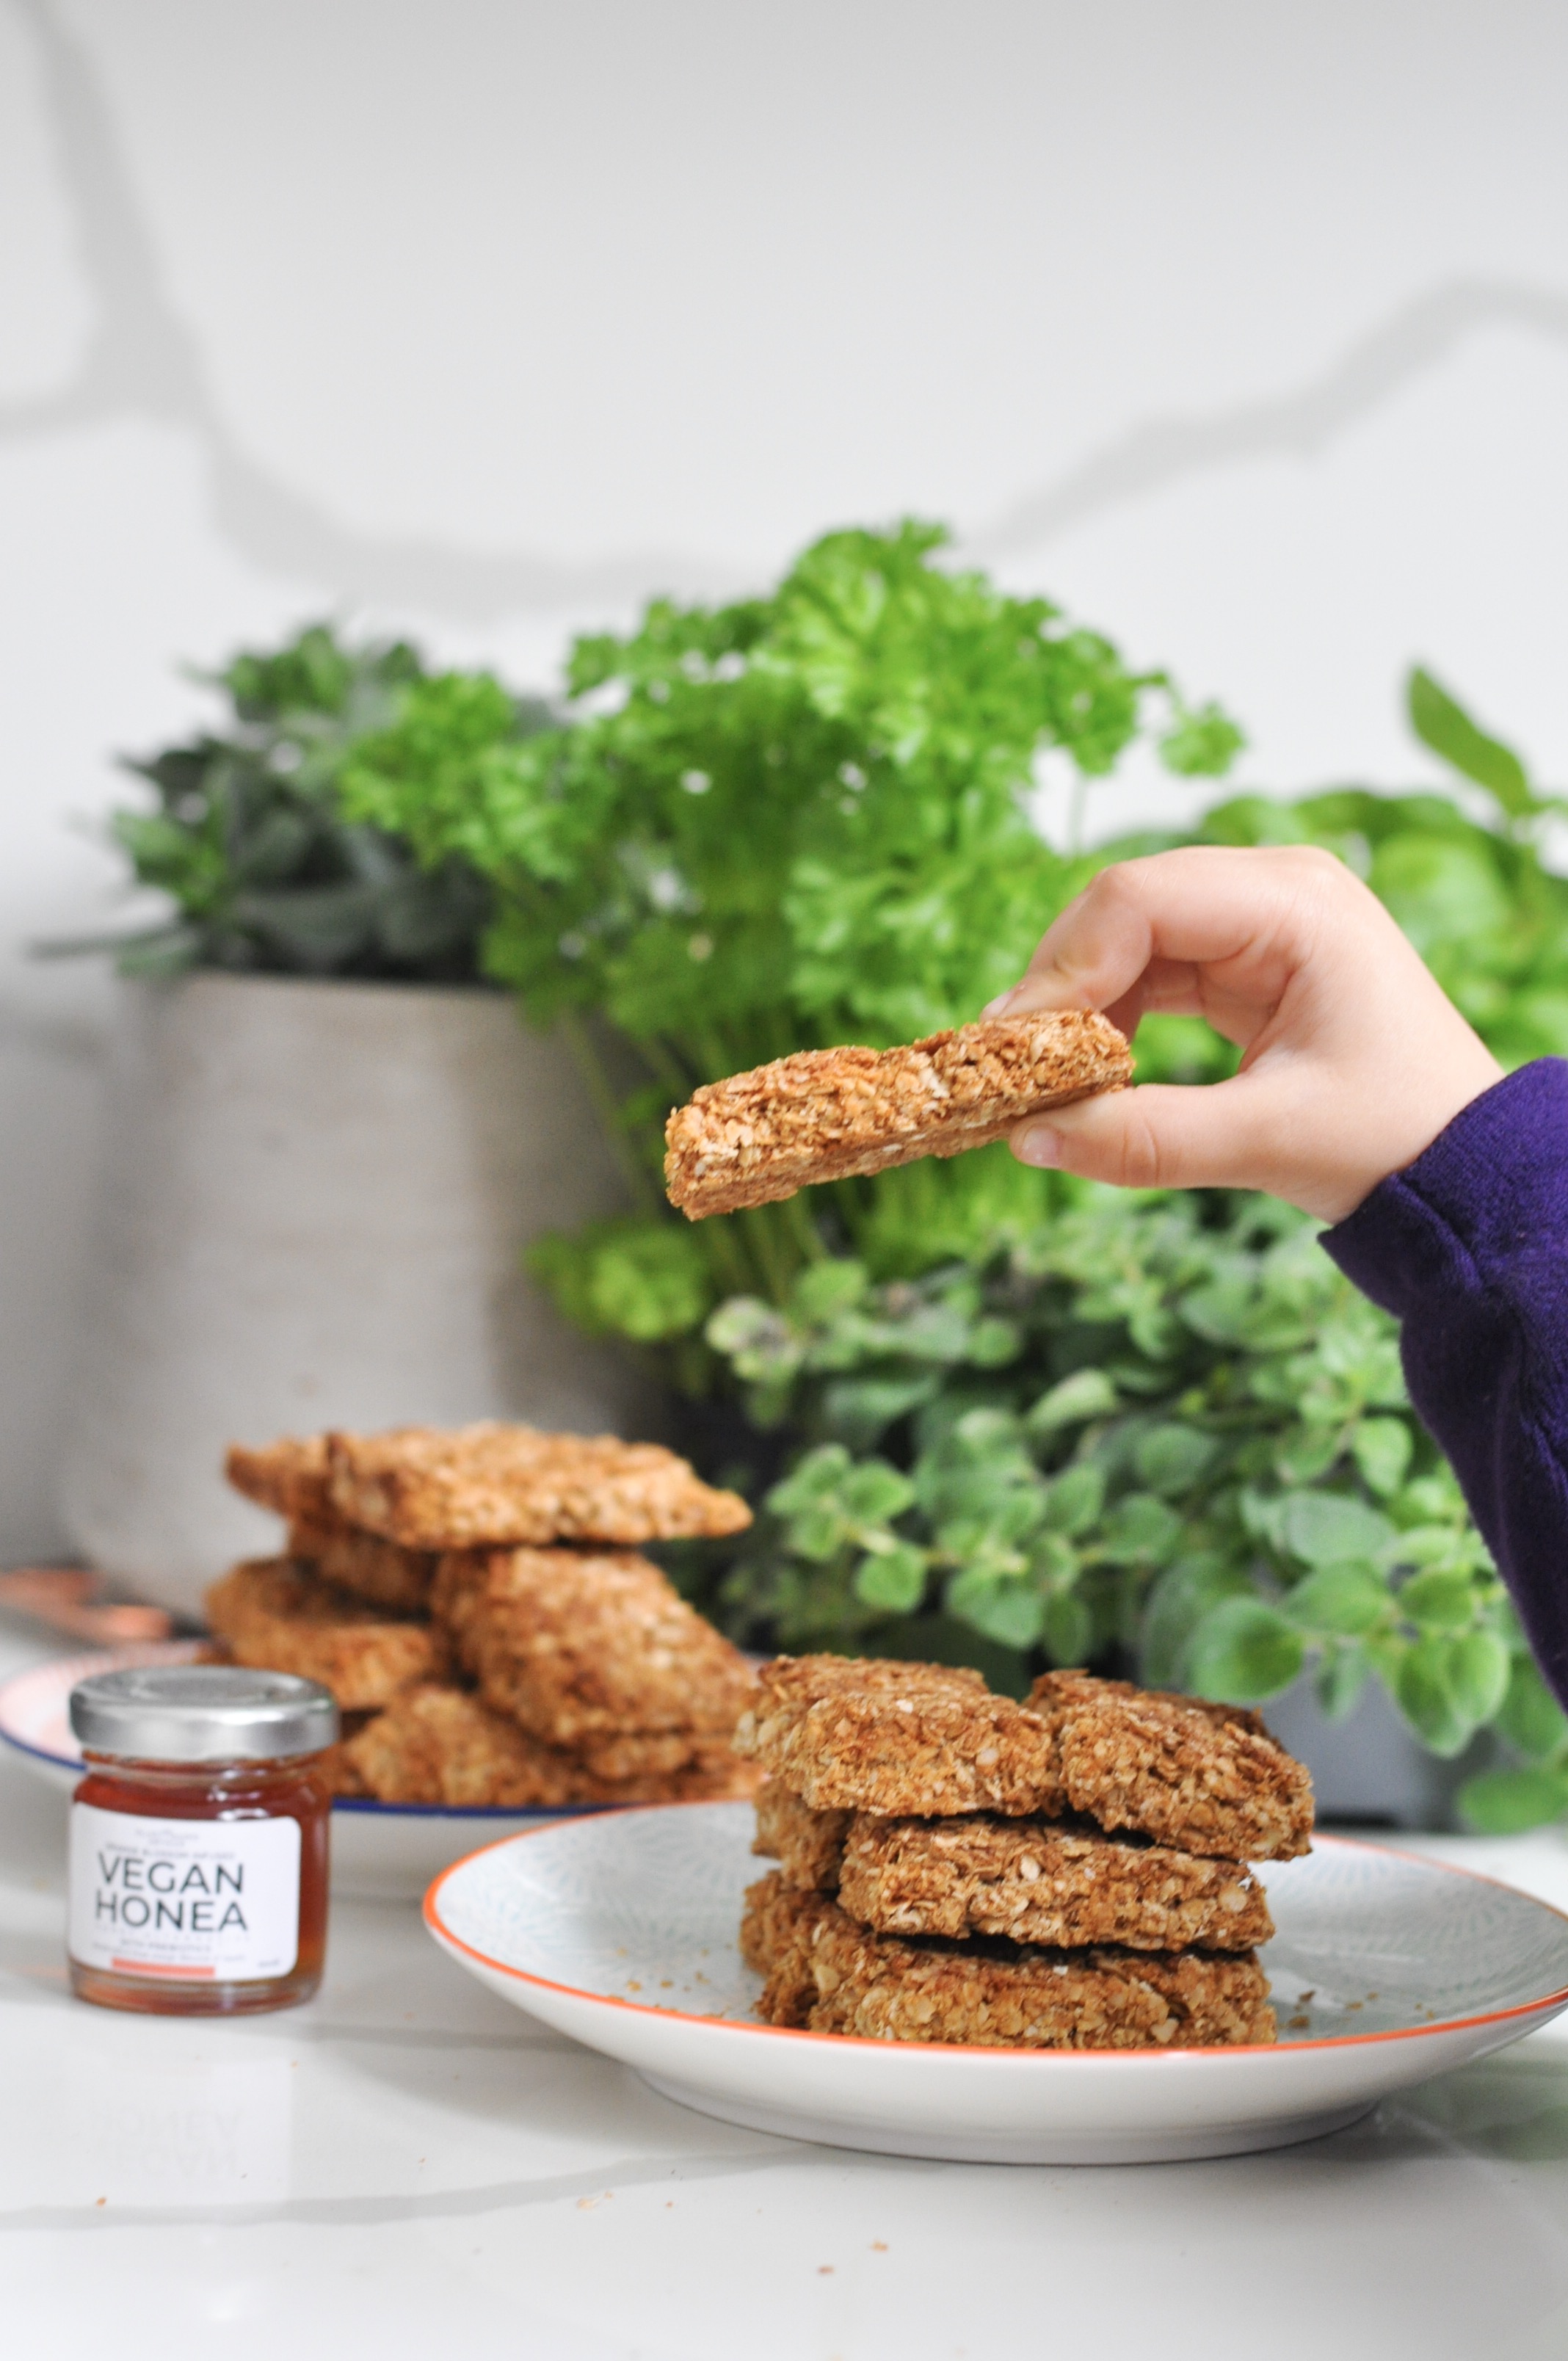
    If there is one thing I love is crunchy snacks so when I received these gorgeous pots of Honea (vegan alternative to honey) from PBĀ  I had to try to make crunchy oat bars with it! Talking to the brand through Instagram I asked them if it really tastes like honey and they responded ‘We’ll let you be the judge of that’ and sent me some jars to try.Ā  I am super happy to report that it TRULY DOES taste like honey and it has the same consistency as well. Perfect balance of sweetness with a floral undertone. I loved it and so did the kids.

    Now on to the recipe. I made a very large batch on the roasting tray of the oven because we are 6 people in my house right now and I didn’t want to have to fight the guests for the bars šŸ˜‰

    200gr oat flour (oats grounded)
    300gr jumbo style oats
    1/2 cup Honea (vegan honey alternative)
    1/4 cup coconut sugar
    1/2 cup coconut oil
    Pinch of Himalayan salt
    Pinch of vanilla powder

    Preheat the oven to 180 degrees Celsius. Melt the coconut oil, add the Honea and mix well. In a large bowl place all the other ingredients and mix well, then add the coconut oil & Honea and mix evenly. Spread the mixture in the oven roasting tray (previously covered with grease proof paper) and bake for 20-25minutes until the top is golden. Take out the tray and cut into desired shapes and let cool down completely before storing them in a container. They are utterly delicious and the perfect quick after school snack for the kids. You can make them into protein bars by adding a scant cup of your favourite protein powder (make sure the flavour matches a sweet recipe!)

  • Porridge with coconut yoghurt and fresh fruits

    Porridge with coconut yoghurt and fresh fruits

    A lot of the time my breakfast gets lost amongst all my morning duties of feeding the kids their own breakfasts and taking them to school etc, but on the weekends (actually only on Sunday) we take out time to have a loooong breakfast all together, chatting about everything and nothing while deciding what to do the rest of the day.

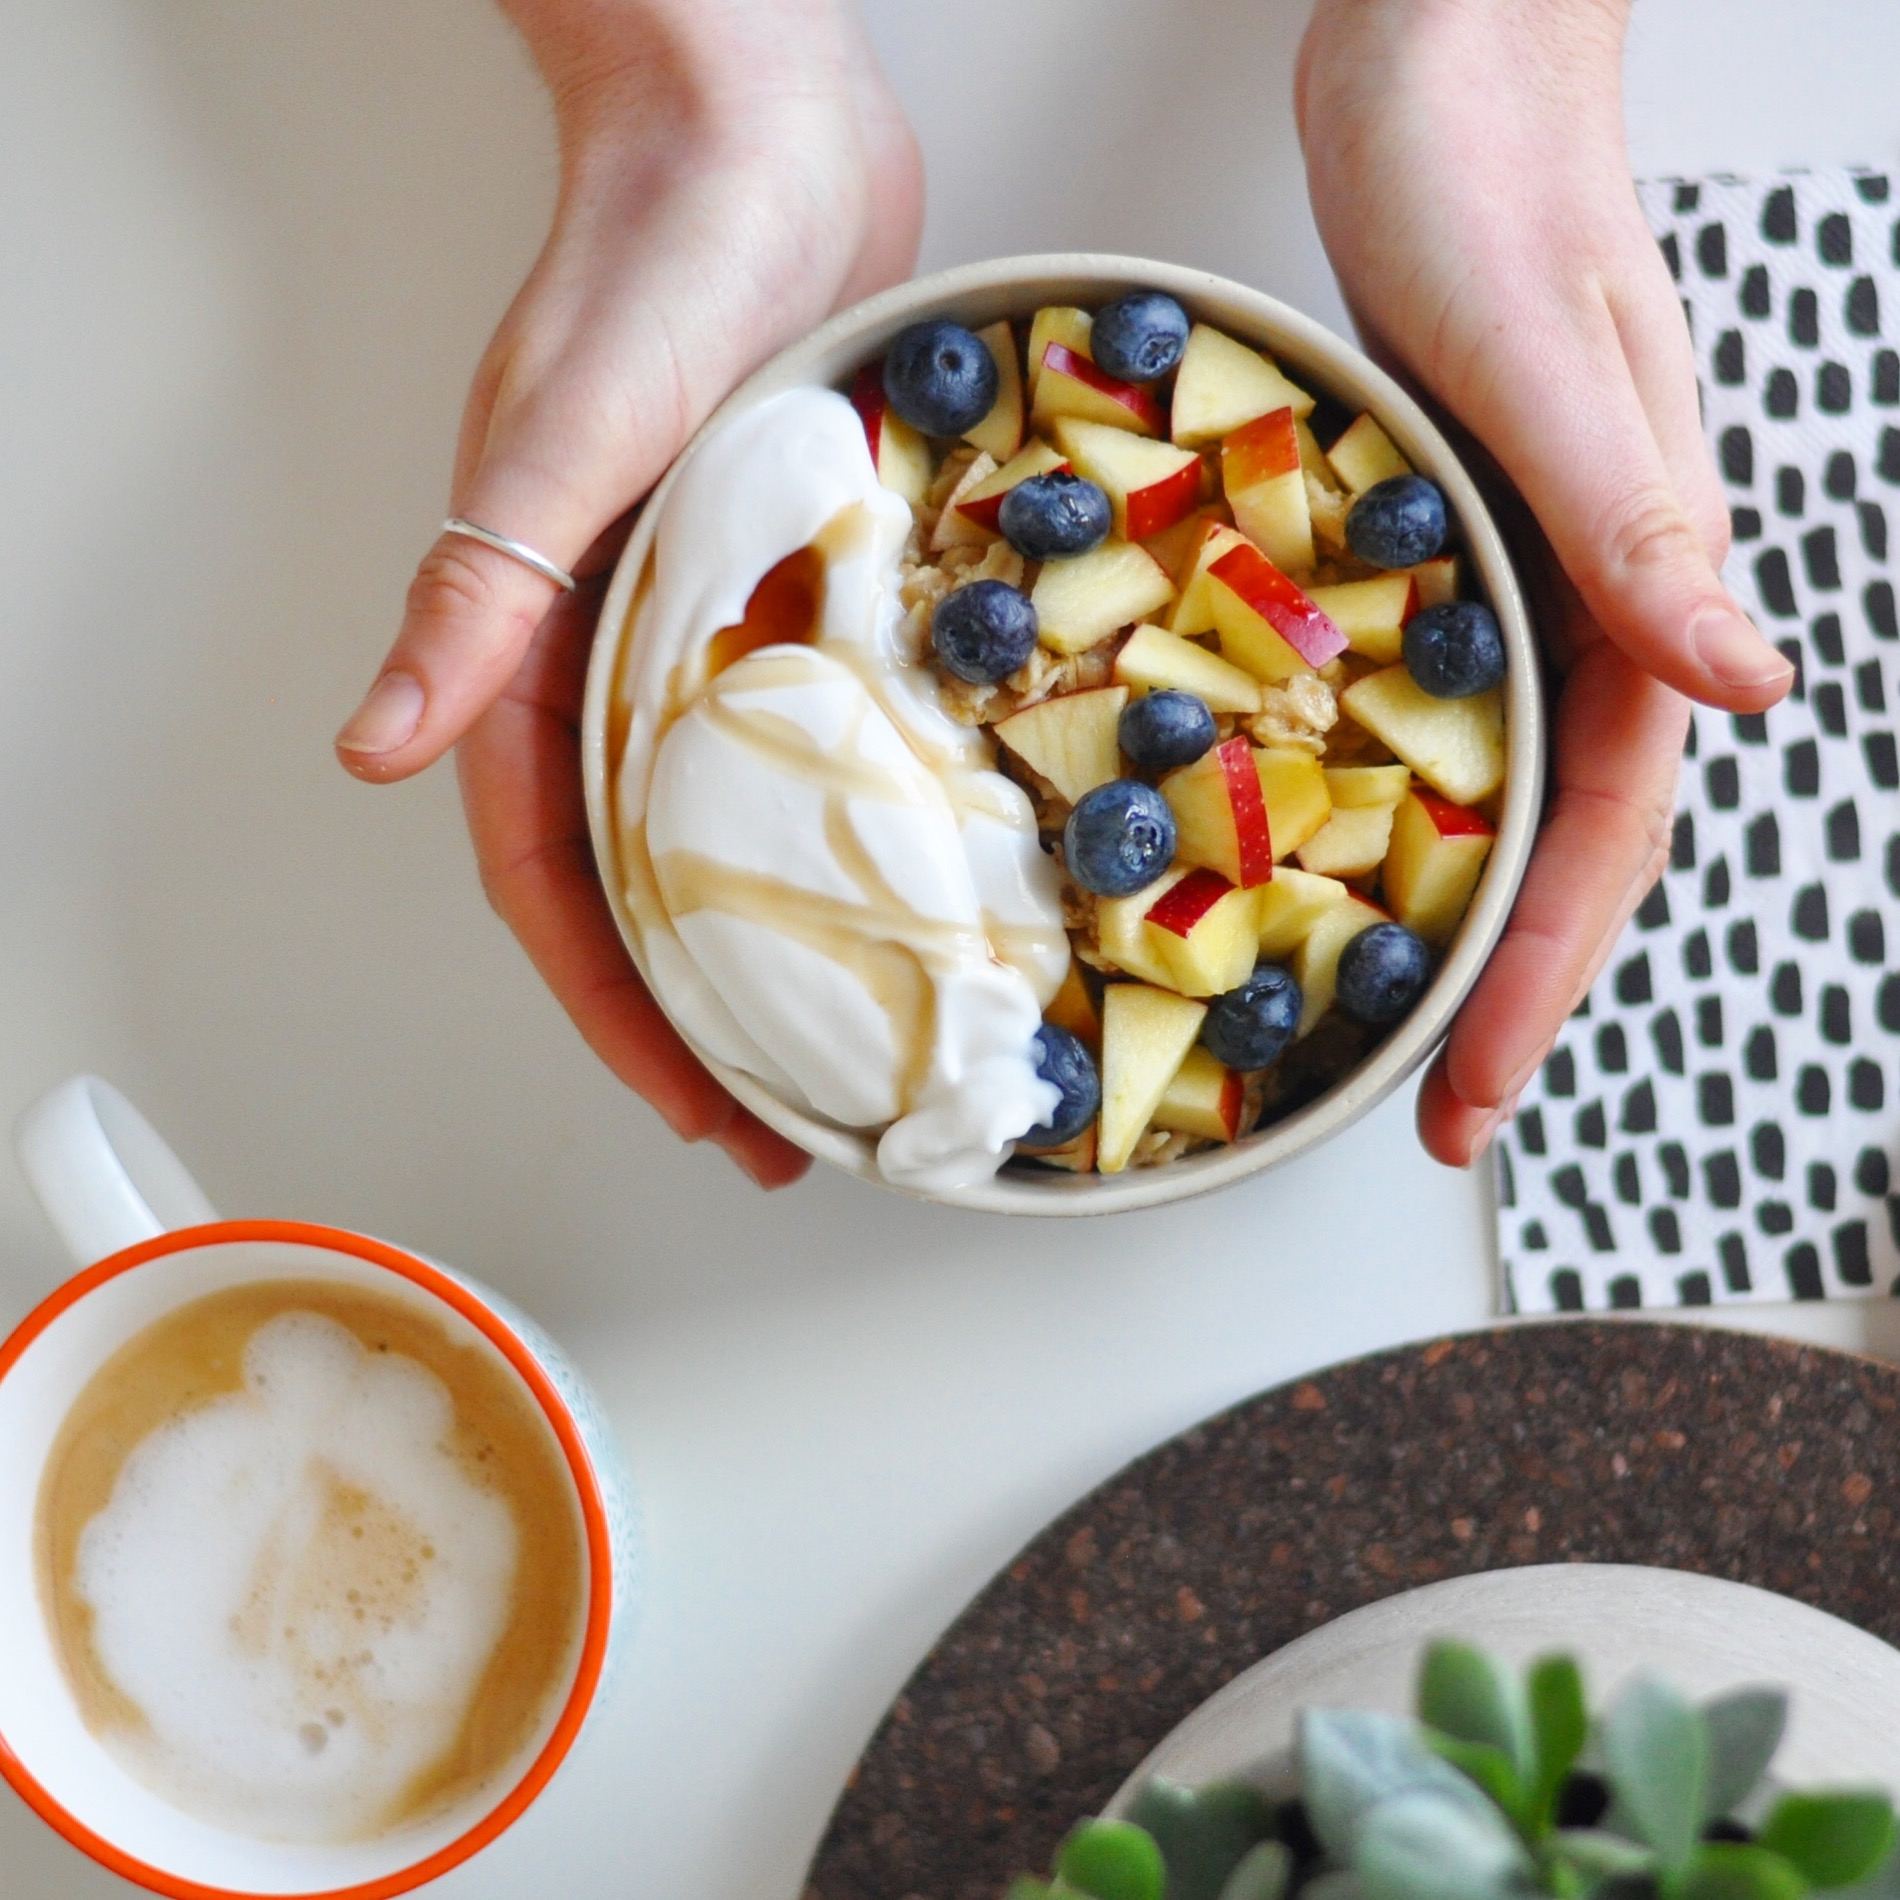
    One of my favourite Sunday breakfasts is porridge, but not any porridge! overnight porridge oats with coconut yoghurt for extra creaminess and then topped up with plenty of freshly cut fruits. I simply have to remember to put the oats in a jar with oat milk the evening before (in the fridge) and it takes no time in the morning to assemble the most filling and delicious breakfast ever!

    The kids also like overnight oats but unlike me, they don’t add any yoghurt on theirs, just bananas and a dash of maple syrup for extra sweetness.

    So, for two adults this is the recipe:

    2 cups rolled jumbo oats
    3 cups plant milk
    pinch of vanilla powder or a dash of liquid vanilla
    freshly cut fruits- apples, bananas, berries, peach all work well
    coconut yoghurt- this is my favourite, but any yoghurt you like would do the job šŸ˜‰

    The night before place the jumbo oats and the plant milk in a jar with the vanilla nad mix well. Put the jar in the fridge overnight so the oats soften but the plant milk keeps fresh and doesn’t spoil. In the morning before serving, add a large dollop of yogurt ino the jar and mix well to make the oats creamier. Serve in bowls and top with anything you like- fresh fruits, extra yogurt, maple syrup, chocolate chips- you name it!

    Enjoy with a hot cup of tea or coffee- best breakfast ever. You’ll smile for the whole day afterwards šŸ™‚


  • Vegan Cauliflower Curry (slow cooker version)

    Vegan Cauliflower Curry (slow cooker version)

    For these rather chilli days we are experiencing there is nothing more comforting than warm and filling food and for us at home that means stews and currys. I have only recently started using a slow cooker because, let’s face it, I don’t really plant the week meals in advance as such, but I have been starting to get better recently and I thought it was time to give a slow cooker a go.

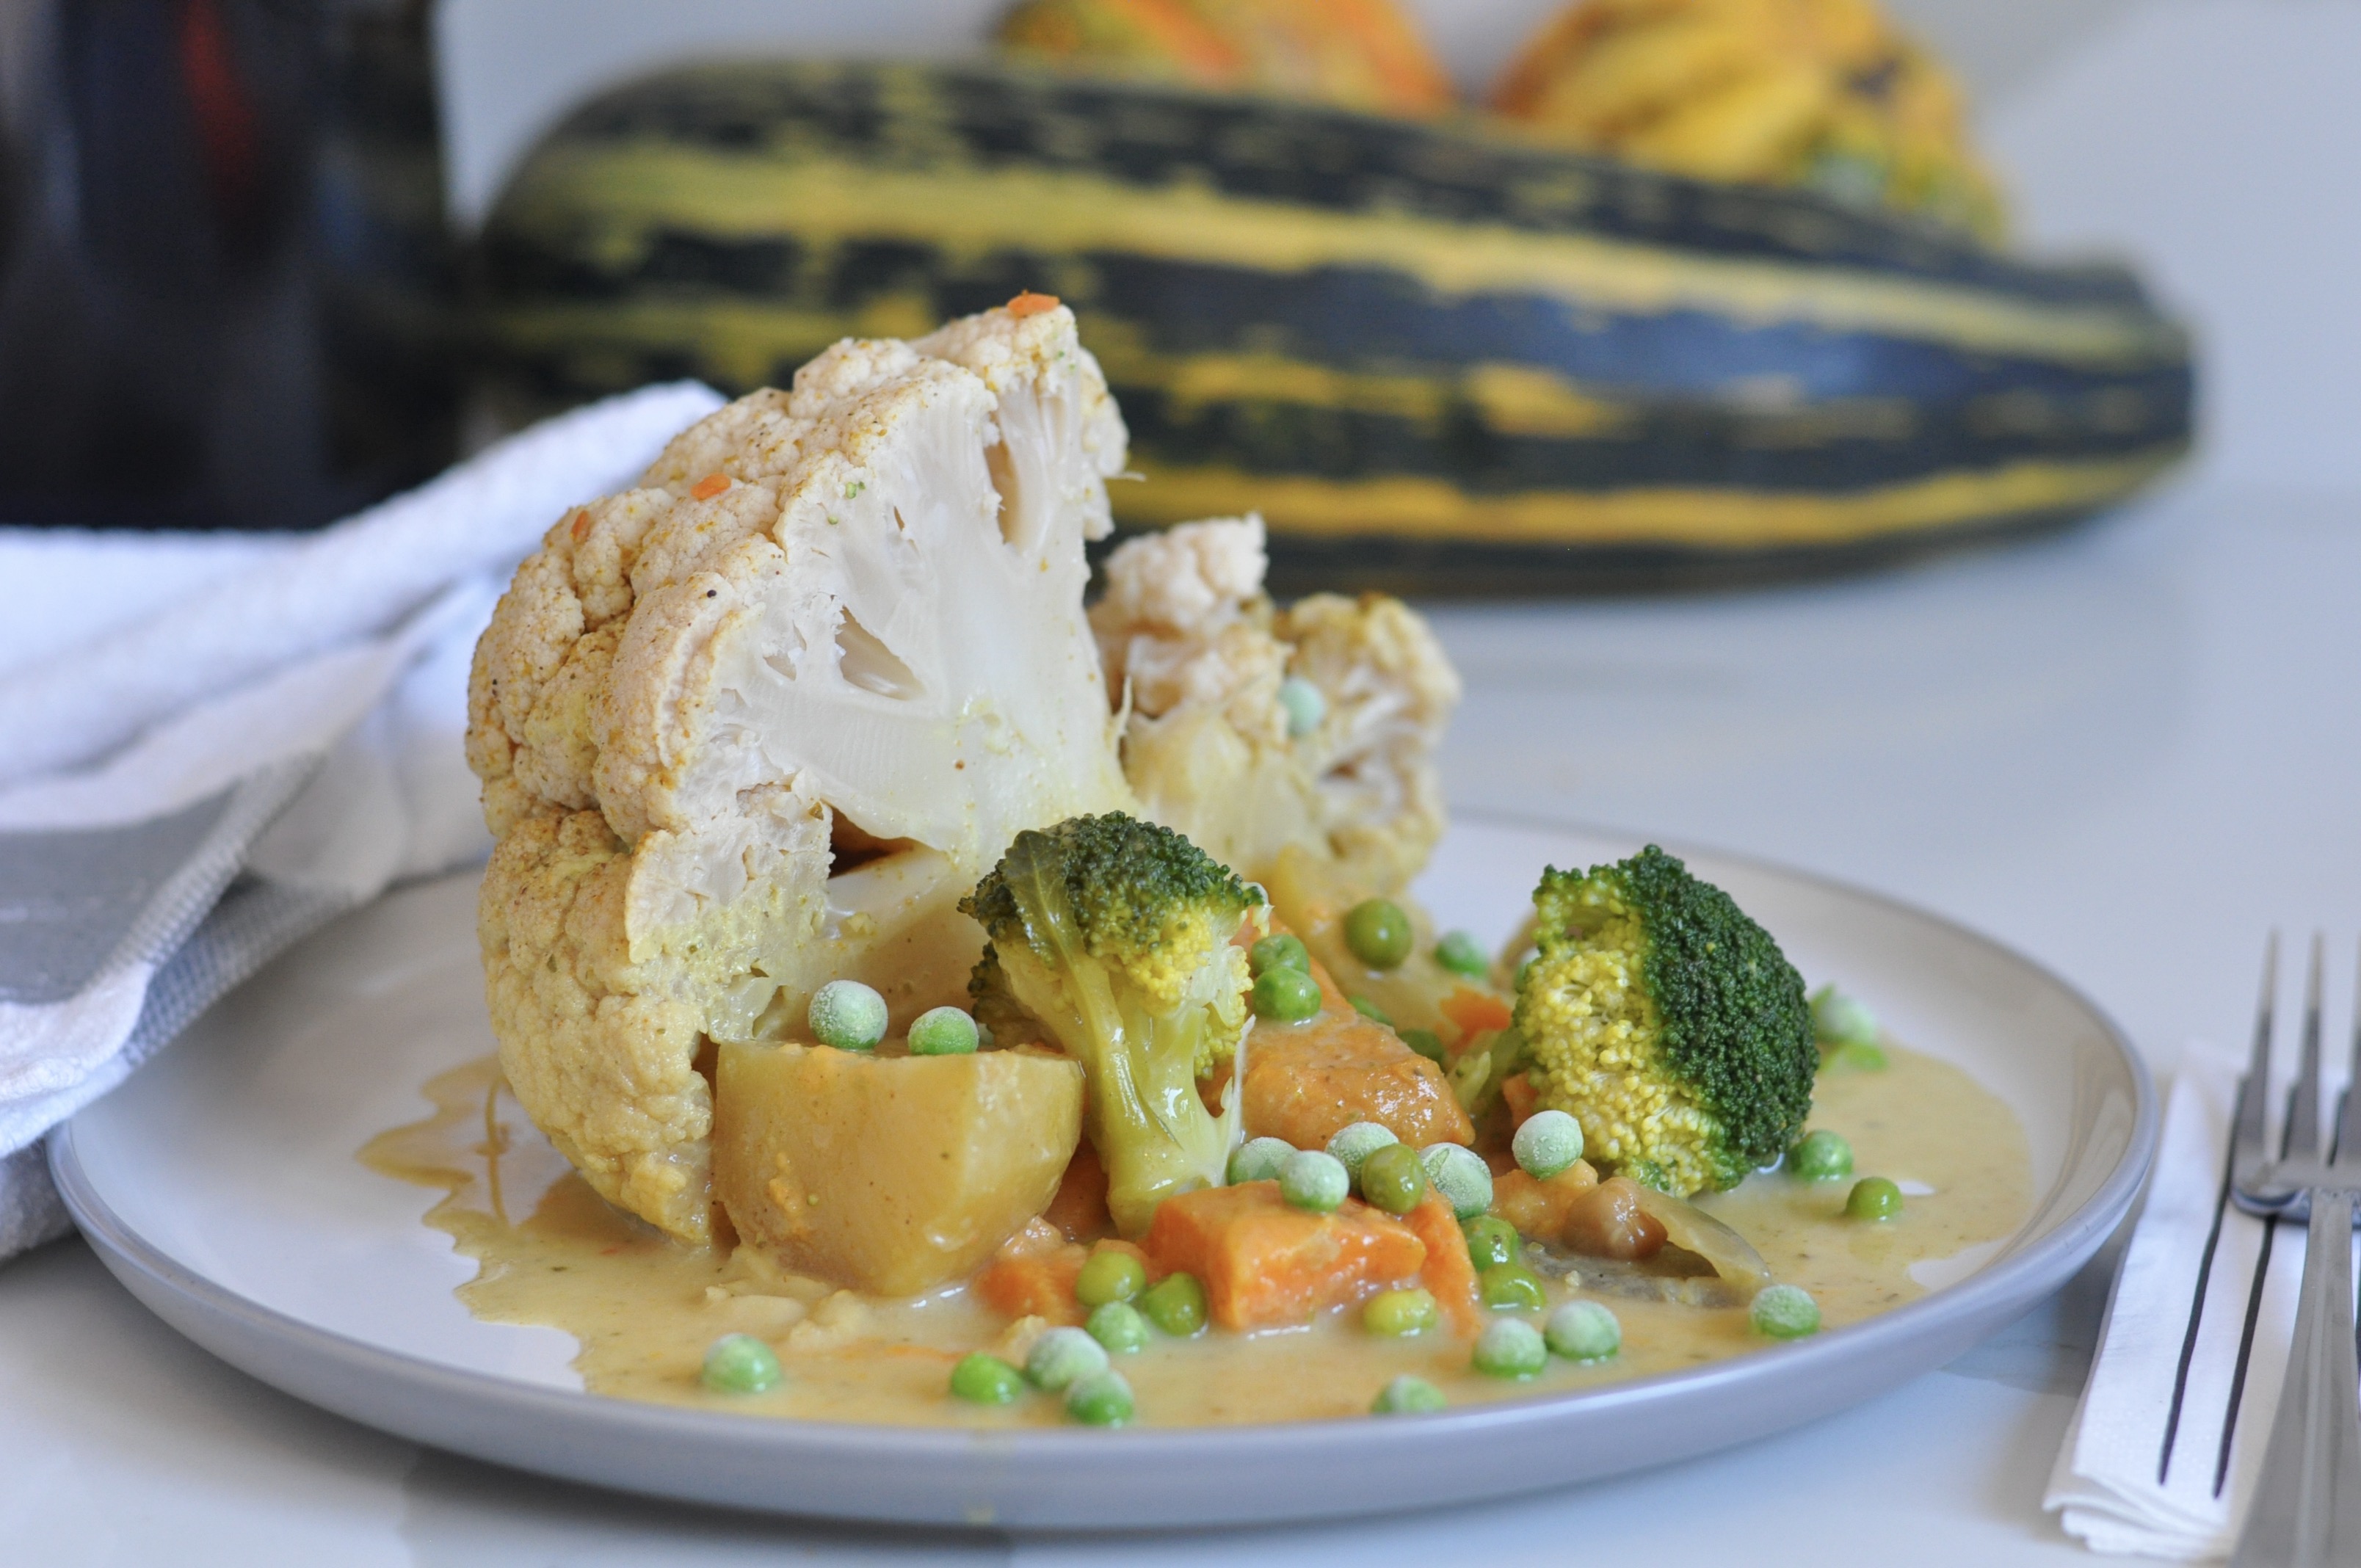
    I bought the largest model of slow cooker because we regularly have guests for meals here and I rather have extra food than not enough. The upside of this if I can fit a whole large cauliflower in there and that’s how this recipe came about. It’s really not a difficult meal to prepare and takes just minutes to put it all together before heading out of the door, and its truly the best meal to come home to- slightly spicy, slightly coconutty, the crunch of nuts…. yum! (more…)

  • Garlic bread rolls with vegan cheese

    Garlic bread rolls with vegan cheese

    While these vegan cheese bread rolls are certainly not the healthiest of my recipes, I can guarantee you that they really hit the spot! Warm from the oven with the cheese melted inside and the garlicky flavour… ummmm just delicious. I love to make them to accompany any kind of casseroles because they really complement them and because they are super easy to make and can be prepped in advance, they also work to bring to friends dinner parties to simply bake while you are there.

    The only tricky part here is to choose a good vegan cheese to use for the filling. Any filling works as well, so get wild and fill with any other things that you like. A black olive tapenade filling would also work wonderfully! on that note, I must try that myself šŸ˜‰ (more…)

  • Winter Cough Remedy

    Winter Cough Remedy

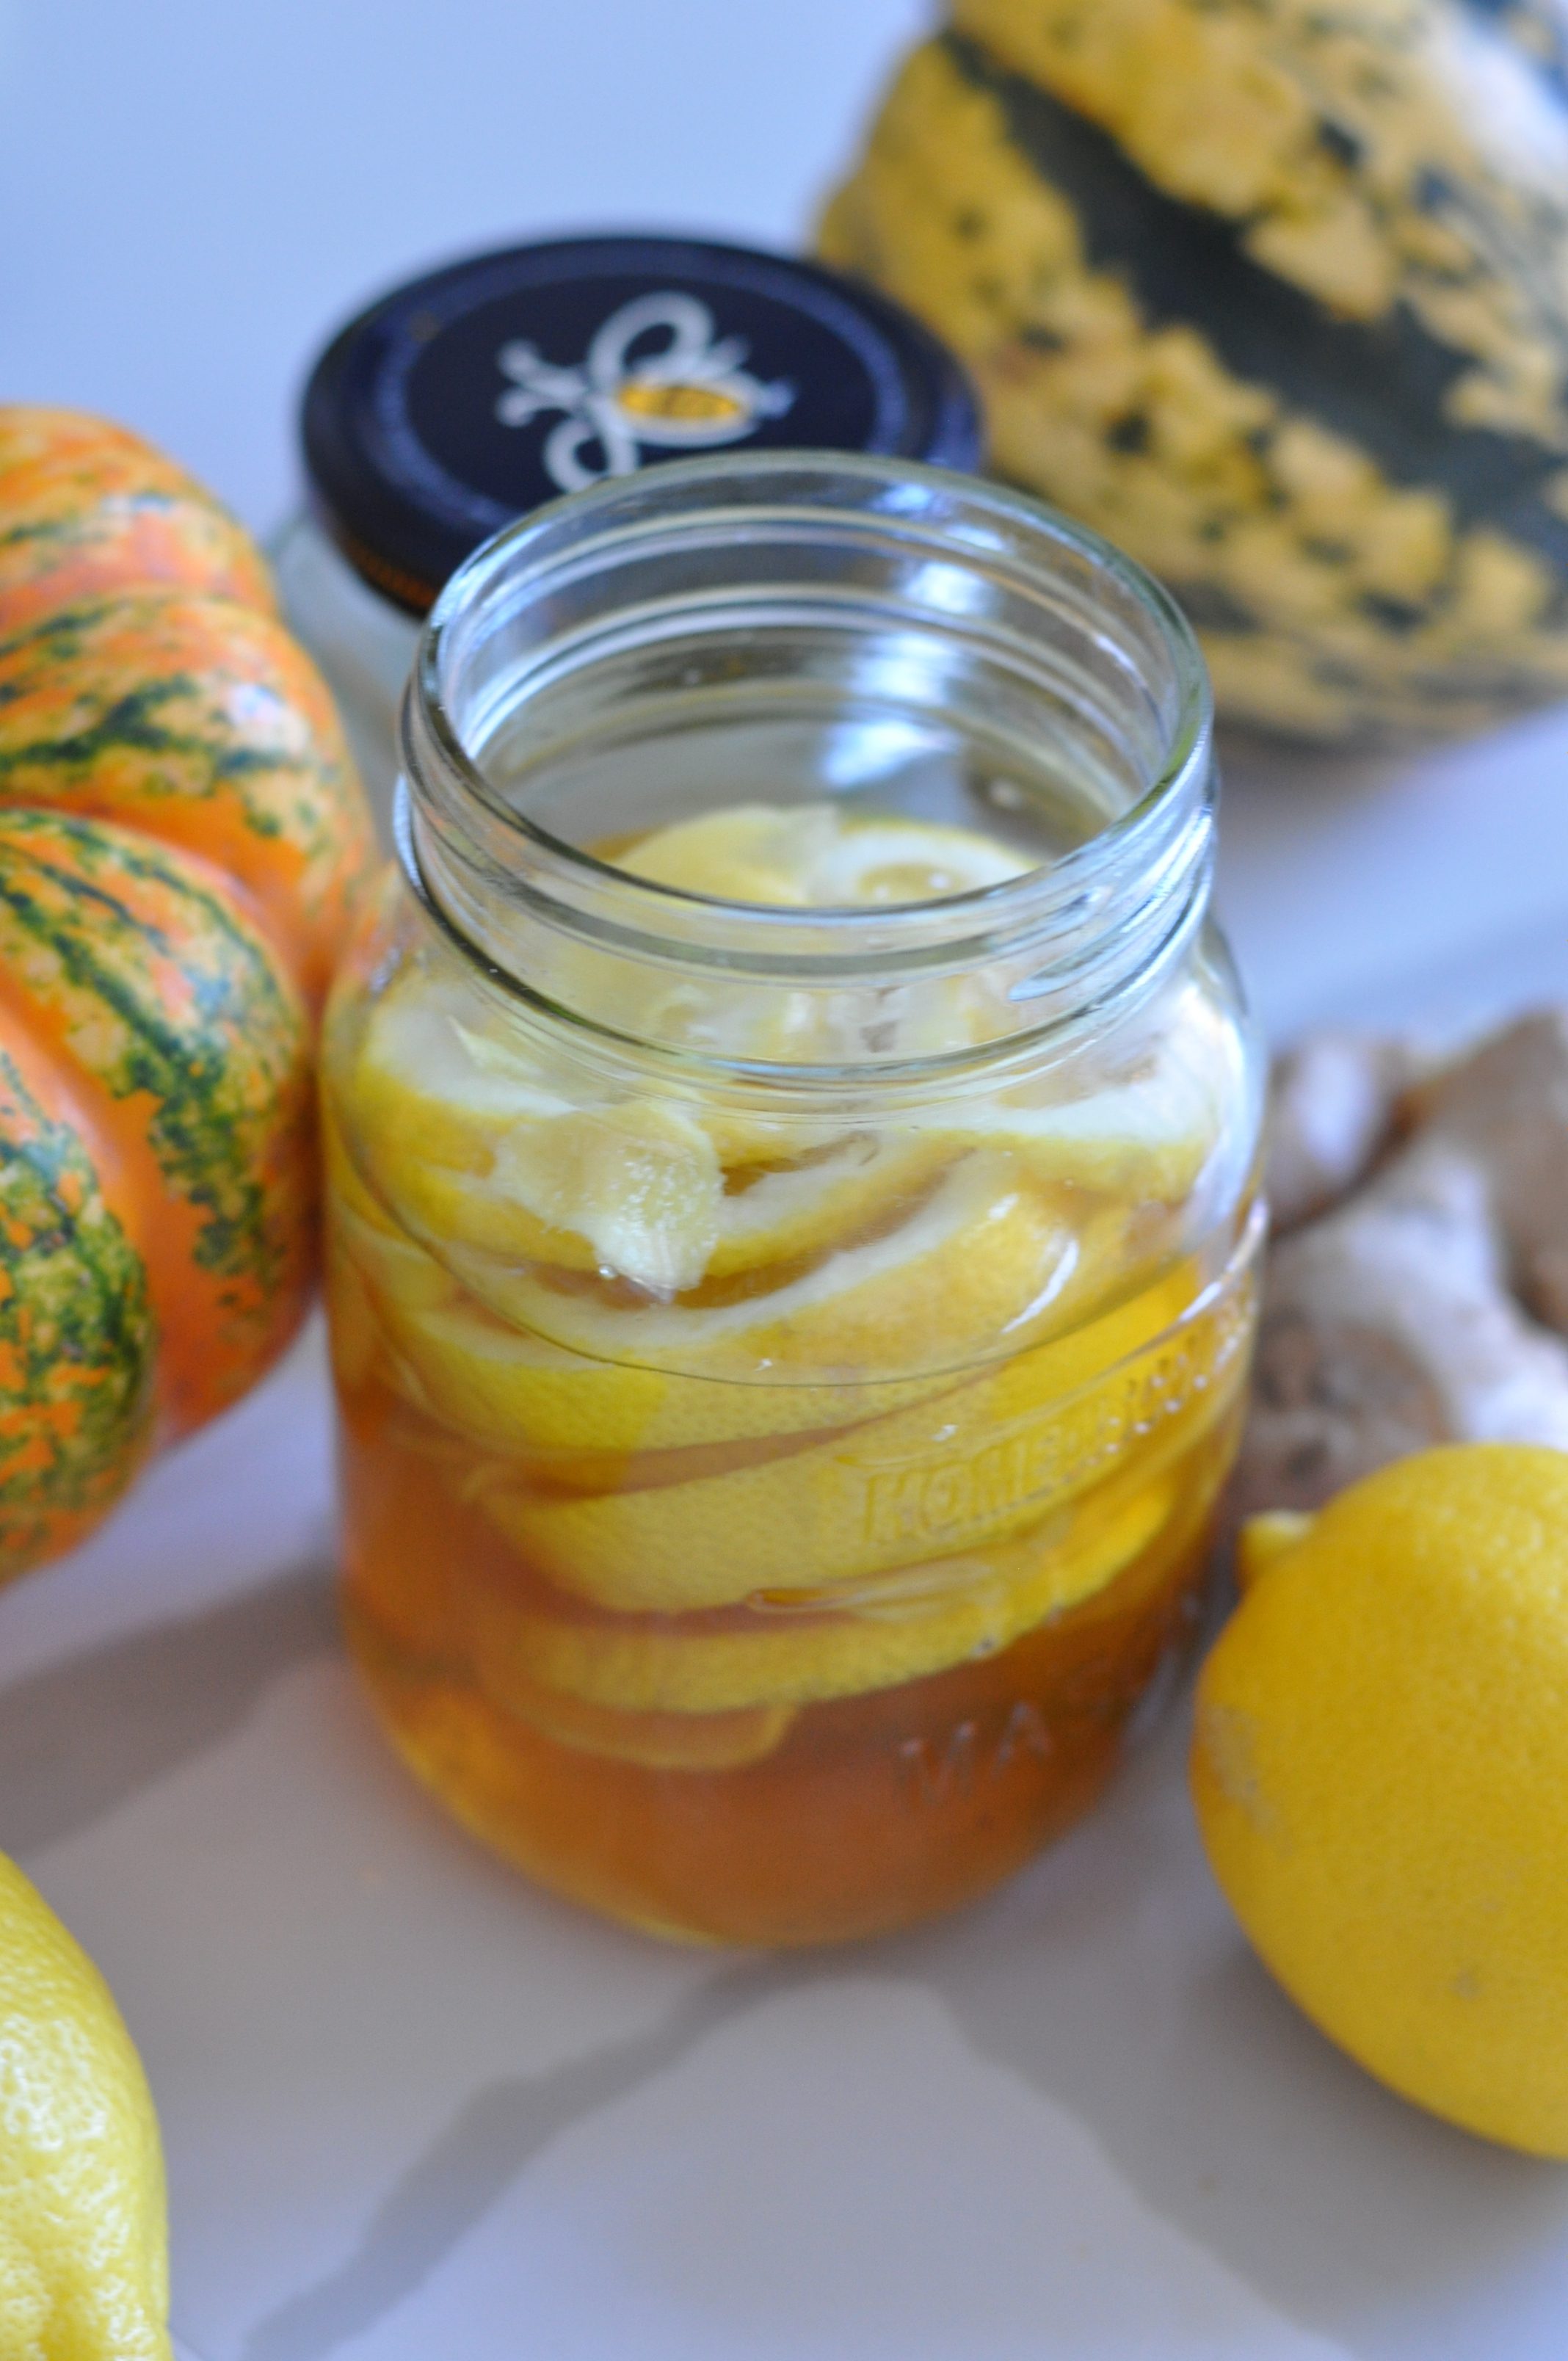
    As the colder season descends upon us, I always make a large batch of this home made winter cough remedy to both prevent and keep the kids (and also us!) from suffering from that ailment.

    It’s a very easy recipe as all it requires its a large mason jar, some organic lemons and ginger and a pot of a good quality honey. I sometimes use manuka to make this, but as its quite pricey I mix it with a good organic honey to make it a more cost efficient remedy.

    Coughing might not be an illness as such, but it really can make us restless and with lack of sleep comes body imbalance and then illness can take residency in our bodies. Getting rid of cough quickly, or even better, prevent it, it a great measure to be healthy all winter long.

    Back to making it- truly the easiest! peel the ginger and slice thinly, wash the lemon well and slice it thinly as well, place the lemon and ginger in layers into the jar and pour the honey over them until covered. Place the cough remedy jar in the fridge and it should get a jelly like texture in a few days and the honey will be then throughly infused with the lemon and ginger.

    I use this remedy in two ways. I make a infusion with it putting a tablespoon of the mixture in a cup with hot water and I administer in tablespoons to the children when they have a cought or a sore throat. Although there are not known contraindications, i tend to not give them more than 3 tablespoons in a day.

  • Savoury GF muffins

    Savoury GF muffins

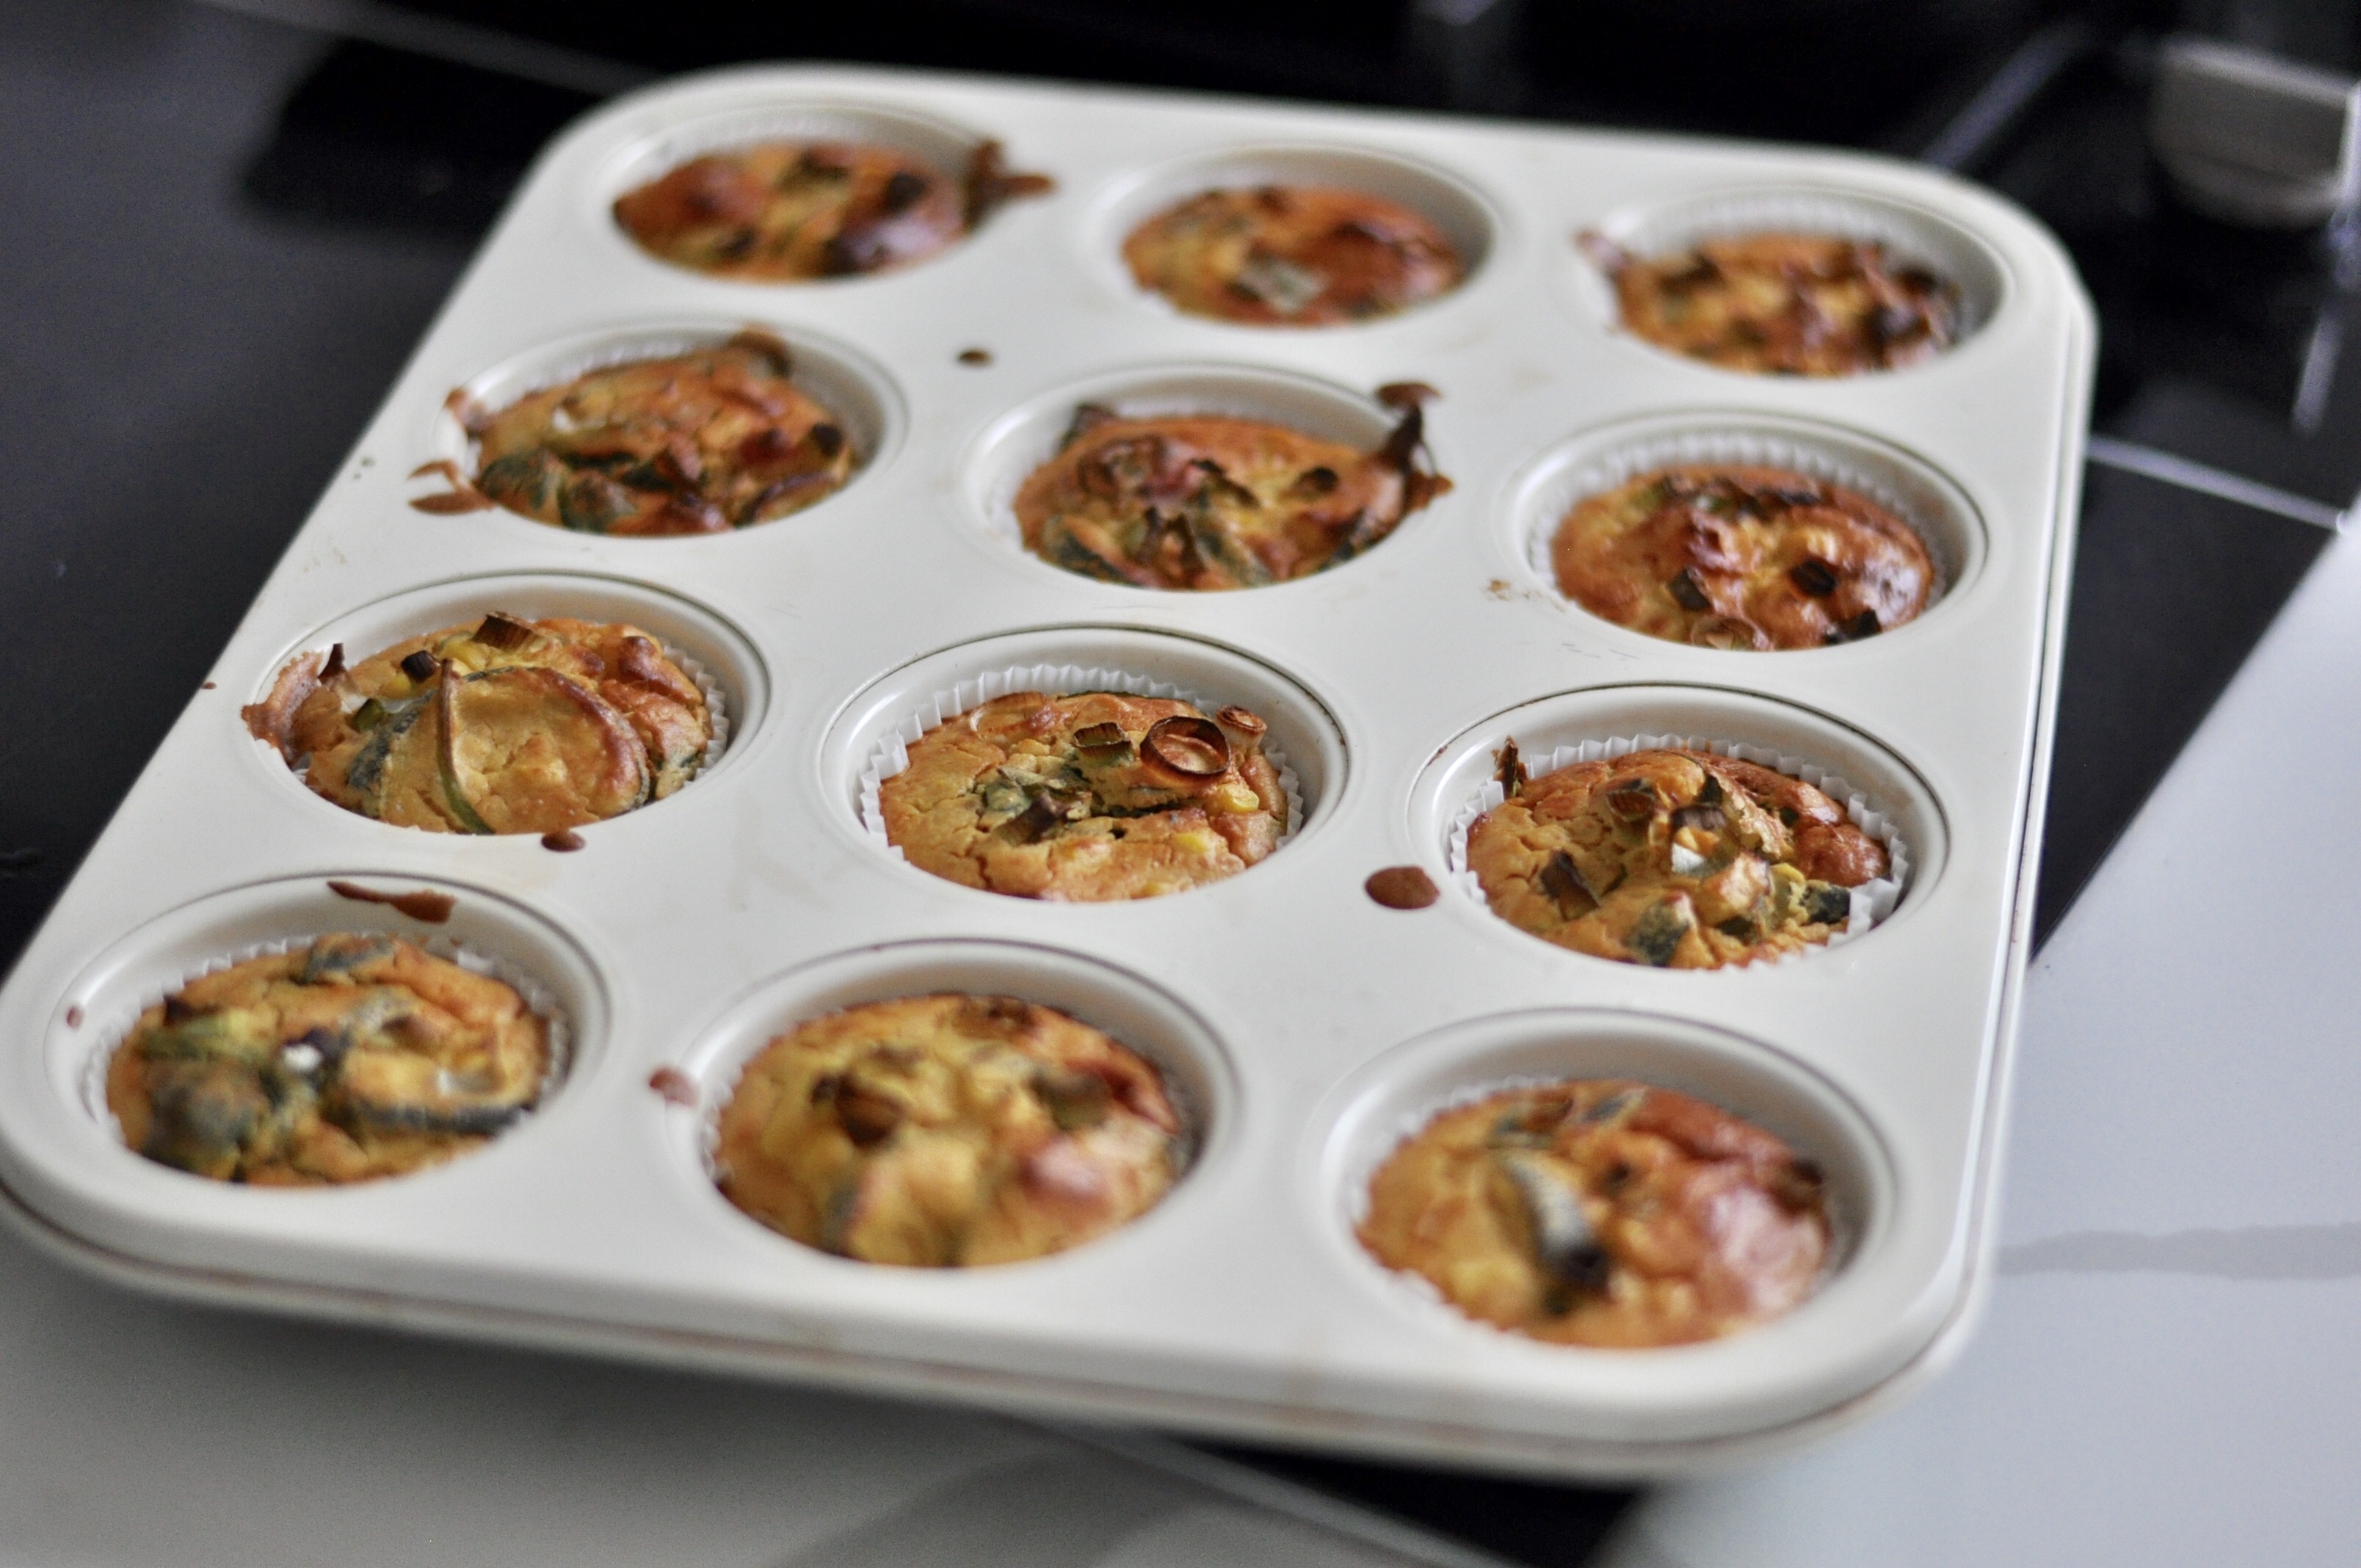
    These savoury GF muffins are one of my favourite ‘on the go’ brunch or lunch. You might wonder why? They are easy to make, versatile and you can honestly make them with any veggies that you have lying around which makes them a good ‘clean the fridge, recipe for before going on holiday. They work well for a snack or meal on the plane šŸ˜‰

    The key ingredient in the recipe is gram flour also called chickpea flour. It is quite sticky once mixed with liquids and its what binds all the other ingredients together. Chickpeas are an excellent vegan and gluten free source of protein and fiber and they also contain high levels of iron, vitamin B-6, and magnesium so this muffins are certainly packing a punch in terms on nutrition.

    Because chickpea flour is in itself quite bland, it is important to flavour the mixture properly. In this occasion I used nutritional yeast, but a combination of herbs to match the vegetables that you add works well too. I have also made them adding garlic and onion powder instead of nutritional yeast and we all liked the result.

    I have also made these savoury GF muffins using vegan cheese and we thought they were delicious! It makes them more gooey and it really works well. I’ll write the cheese recipe up soon and then you can make it yourself if you prefer not to use store-bought.


    200gr chickpea flour
    20gr nutritional yeast (or 1 tsp garlic powder & 1tsp onion powder)
    around 3 cups of mixed cooked veggies (and veggie combination of your liking works)
    1 tsp baking powder (make sure this is GF if that’s important to you!)
    1 tsp Himalayan salt
    1/2 tsp white pepper
    2 cups of water
    1 tbsp olive oil

    Heat your oven to 180 degrees and oil a cupcake tray. Cook the vegetables you are going to be using or simply chop them if you prefer to make a non cooked veggie version. In a bowl mix the flour with the nutritional yeast or garlic and onion, salt, pepper & baking powder. Add the cooked veggies to the mix and mix to cover the veggies with the flour mix. Add the water and oil and mix until well incorporated. Pour the mixture to fill the previously oiled cupcake sized holes almost to the top as the mixture won’t raise too much. Last time I used cupcake liners and they got stuck to the muffins, so I wouldn’t recommend that…

    Place the tray in the oven and cook for 20 minutes, then let the muffins cool down while still in the tray. Once they are only warm, store in an airtight container in the fridge for up to 5 days. They are better room temp or warm rather than straight from the fridge though!

  • Making probiotic water kefir

    Making probiotic water kefir

    One thing that always surprises me when I visit health stores its the cost of fermented foods and drinks. It’s incredible the difference in cost between the homemade and store bought, particularly because the ingredients use to make fermented foods are veeeeeery cheap and, let’s be honest, the labor is almost nonexistent.

    Fermented drinks are a good way to keep the gut flora balanced, incorporating beneficial bacteria while also being very pleasant to drink. The taste of kefir reminds me of that of a slightly sparkly lemonade and kombucha, another popular fermented drink, has a mild tea taste (I usually make it with white tea as its the milder caffeinated tea taste wise).

    Making water kefir is so easy that it made me laugh when I first made it and realised I could always have it in the fridge ready to drink. It ferments rather quickly, usually 24-36 hours for the first part and 24 hours for the second part, so I always have a bottle at hand.

    One very important tip when making water kefir is to remember that its best to use glass or plastic utensils. I always use glass jars for both fermenting or keeping in the fridge, and plastic for things such as the strainer. It is thought that kefir grains react strongly to some metals, and although steel is considered safe, it is best not to risk using metal utensils if possible to prevent damaging the grains. Lots of our kitchen utensils are not 100% steel even if the manufacturers say so- better safe than sorry šŸ˜‰

    This is what you’ll need to make it:

    1.5 litres of good quality water
    10/15gr water kefir grains
    50gr organic unrefined cane sugar
    a couple of dates
    1/2 lemon (unwaxed)
    pinch of Himalayan salt
    125ml fruit juice or 10gr organic unrefined cane sugar

    You will also need a large glass containers for the first fermentation and a couple of kilner top bottles for the second fermentation.

    If you have any friends who make water kefir, ask them for some grains. As you can see in the photo, they look like translucence little blobs. Make sure you have the right kind of grains, as the kefir grains for milk do not look translucent but white. You can also buy good quality grains from Happy Kombucha on this link. Once you have been making kefir for a few weeks, you will have your own established culture and will be happy to pass on to friends and family as they multiply quite quickly. I keep some grains frozen just in case the current culture I am using get contaminated or goes off. For holidays (or when I don’t fancy making water kefir) I simply make a mix of water and sugar, then put the grains into it I place it in the fridge.

    Basically, all you need to do is bring the water to boil, add Himalayan salt and sugar, let it cool down and the sugar should also dissolve in the meantime. Once is only slightly warm to the touch, add the kefir grains, a couple dates /figs and lemon pieces and let it cool down. Place a muslim cloth or a kitchen towel on top of the container opening to prevent flies to fall in and place in a warm place in the kitchen counter for 24/48 hours. I usually taste it after 24 hours to check on how sour it is by then. If it tastes already fermented or slightly sour you’ll need to keep a close eye on it (and taste regularly) until it does no longer taste sweet. Once that happens it is ready for the second fermentation.

    Strain the water kefir into the bottles discarding the lemon and dates. At this time you can use the kefir grains to start yet another batch of the first part of the fermentation or simply put them into water and sugar mixture into the fridge for safe keeping.

    To each 1lt bottle you can either add 25ml of a fruit juice of your choice or 5gr of organic unrefined cane sugar to start the second fermentation process or the carbonation process. This is when the drink becomes ‘sparkly’. For this to happen its very important to make sure the bottles close very well so kilner top bottles are usually the best to use for that. I love to make sparkly lemonade (I use a combination of organic lemon juice and a bit of sugar to make the carbonation happen) but pineapple juice makes an awesome drink as well so make sure to give that a go! After around 24 hours of the bottles staying very tightly closed on the kitchen counter, they should be carbonated enough. If not, please close them and leave them for a further few hours until they are. When sparkly enough simply put in the fridge, but don’t forget to occasionally open them to let the excess of carbonation to leave.

    Commercially purchased kefir and kombucha are usually highly filtered to prevent the bottles from exploding due to the build up of carbonation even when kept refrigerated, which always makes me wonder how much of the cultures remain…Ā  homemade is best anyways!
  • Como hacer agua de kefir en casa

    Como hacer agua de kefir en casa

    Una cosa que siempre me sorprende cuando voy a una tienda de comida saludable, es el coste de los productos fermentados. La diferencia de precio entre hacerlo en casa o comprarlo hecho es simplemente ridicula, especialmente cuando las cosas fermentadas son muuuuy faciles de hacer, ademas de baratas. Esto es ciertamente correcto cuando hablamos del agua de kefir.

    Los productos fermentados son una muy buena manera de mantener la flora intestinal balanceada de una manera facil y ademas rica! Las bebidas kefir y kombucha pueden ser muy suaves o mas fuertes dependiendo del gusto de cada uno, asi que toda la familia puede disfrutar de ellas.

    Hacer kefir es tan facil que me reia la primera vez que lo prepare. Lleva un total de 48-60 hours en estar listo pero require menos de 10 minutos de trabajo en total.

    Para hacerlo se necesita:

    1.5 litros de agua
    10/15gr granos de kefir de agua
    50gr azucar de cana sin refinar (organica si es posible)
    un par de datiles
    1/2 limon (organico)
    pizca de sal del Himalaya

    125ml de zumo de frutas o 10gr de azucar de cana sin refinar

    Tambien necesitaras tarros grandes de cristal para la primera parte de la fermentacion y botellas con cierre de clip para la segunda parte.

    Si tienes algun conocido que prepare kefir de agua, simplemente pideles que te den 10gr de granos. Cuando tu tengas tu propio cultivo (o colonia) establecido estaras encantado de pasar parte a tus amigos ya que se multiplica muy rapido. Yo mantengo 20gr congelados en casa por si algo le pasa al cultivo original, asi siempre puedo empezar otra vez. Cuando me voy de vacaciones (o cuando no me apetece hacer kefir por unos dias o un par de semanas) pongo mi cultivo en un tarro con mucho azucar de cana sin refinar y agua en el frigorifico.
    Todo lo que tienes que hacer para la primera fermentacion, es poner agua a calentar, agregar el azucar y dejar que se disuelva y la temperature baje a tibia o fria para no danar los granos al agregarlos. Cuando la temperatura sea correcta, agrega los granos de kefir, el limon, los datiles y una pizca de sal del Himalaya.Ā  Pon un trozo de tela encima del tarro para que halla circulacion de aire pero no puedan caer insectos dentro, porque les atraera el azucar. Deja el kefir en la encimera de la cocina o en un sitio calido en tu casa y a las 24 horas pruebalo. Si ya no sabe dulce pero si un poco agrio estara listo, si no, dejalo unas horas mas. La fermentacion se produce por el cultivo nutriendose del azucar asi que si sabe muy dulce, aun no esta listo. Cuando esta fermentado llega el momento de pasar al segundo paso o segunda fermentacion que es la que se hace para darle un poco de carbonacion y diferentes sabores a la bebida, pero includo bebiendolo antes de este paso, ya es una bebida probiotica.
    Tienes que verter el liquido, colandolo, dentro de botellas de cierre hermetico. Los granos se pueden usar directamente para un nuevo fermento y el liquido de las botellas es lo que usamos ahora para el segundo paso. A cada botella de 1 litro le vamos a agregar 25ml de zumo de frutas o 10gr de azucar de cana sin refinar y cerrandolas muy bien, las dejamos por otras 24 horas en la encimera. A las 24 horas al abrir la botella, oiremos como hace en ruido similar a la gaseosa indicando que esta carbonada. Si el sabor sigue siendo muy dulce, puedes dejarla fermentar unas horas mas y cuando este a tu gusto simplemente pon las botellas en la nevera. Mi sabor favorito esta hecho con zumo de limon y un poco de azucar ya que el limon no tiene azucares, para ayudar con la carbonacion. El zumo de pina hace una bebida deliciosa, asi que decididamente prueba esa combinacion!
    water Kefir Drink
  • Vegan buttercream

    Vegan buttercream

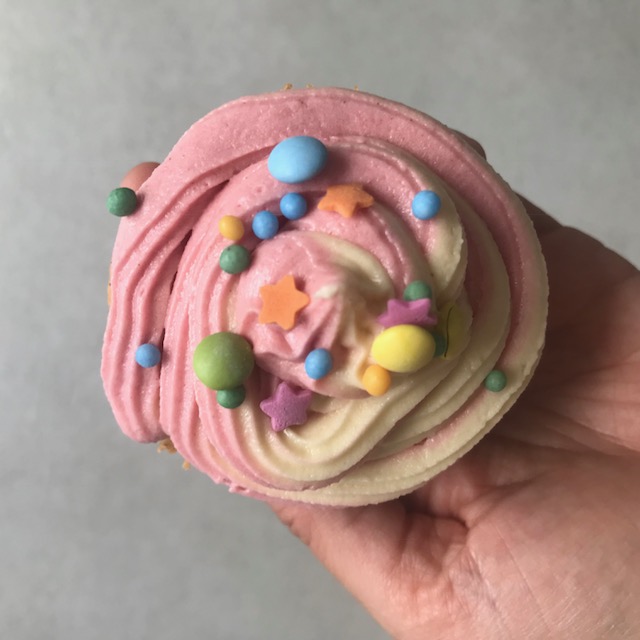
    I am really starting to enjoy decorating cupcakes and cakes using my piping tips and vegan buttercream- it is so easy to make that is really no excuse not to… I have also started making colours using natural pigments the same way I make colorful aquafaba royal icing to decorate cookies and the like.

    I certainly won’t say that vegan buttercream is super healthy, but there are some measures you can take to make sure it’s at least healthier than the ones used widely in commercial establishments. Sometimes its all about the best available option, rather than not having something at all…

    We sometimes use our homemade vegan butter to make this, but most of the time we simply buy a vegan butter alternative, free of palm oil whenever possible or at least those made with sustainable palm oil. It is more cost effective this way and also, the butter we make at home it’s so delicious that always feels like a shame when we use it for anything else than spreading it on toast šŸ˜‰

    So, back to how to make vegan buttercream… I have tried many times to follow recipes on how to make it from other people and the ratios never really did work for me. I think it is because every vegan butter has very different ratios of fat and liquids and recipes are usually adapted tp the bran that person makes. This is why I think it’s best to use the very well known method of ‘eyeballing it’. It always works! Basically, wait until your vegan butter is soft and start adding the icing sugar as you go, always waiting to incorporate it all before adding more. Once the mixture is still soft but with ‘body, meaning that if you pull the mixture up it creates peaks and they stay high, then you are ready to use it.

    If I find that the mixture is very stiff i simple add a couple drops of plant milk to soften, or you can use plant yoghurt if you prefer.

    The ingredients for this simple vegan buttercream are (this is usually enough for 12 cupcakes)

    150gr vegan butter
    as much unrefined cane icing sugar as needed (usually about 4 times the amount of butter, but it varies)
    a little plant milk or vegan yoghurt

    Good luck making your own super yummy vegan buttercream and beautifully decorated cakes and cupcakes!

  • Vegan Celebration Cake

    Vegan Celebration Cake

    One thing I really love making is cakes. I make them for no reason at all, just to enjoy a nice and healthier treat than I could get out there in the shops, but I also love making them for friends and family to celebrate birthdays and other occasions.

    Last weekend was my sister’s birthday and Laura came to London for a few days and I could not resist to make her a beautiful vegan vanilla birthday cake. I’d like to share the recipe for the vegan vanilla cake I made her because it was delicious and very easy while still being quite a good looking cake.

    Lately I started using shop bought vegan royal icing to cover the cakes. The reasons for using the commercial version is that we do never actually eat the icing, we simply use it for decoration purposes so I found it be quite a waste of good ingredients to make my own. I do make my own royal icing for cookie decoration as we use small amounts and we do eat that šŸ˜‰ we need to choose our battles to fit our pockets I say!

    So, back to the recipe. The cake itself its s simple yet very delicious vanilla cake and then I filled it up with vegan buttercream made with unrefined cane icing sugar. I made three layers of cake with two layers of buttercream in between and the recipe I am proving makes enough for 3 layers of 7 inch cake molds. Possible to make thinner layers in 8inch cake pans too, depends on what height you want to achieve for your cake!

    400grĀ organicĀ flour
    250gĀ unrefinedĀ caster sugar
    1 1/2Ā tablespoonsĀ baking powder

    1.5 tspĀ bicarbonate of soda

    1/2 tablespoon vanilla powder
    450Ā mlĀ oat milk
    1.5 tbsp apple cider vinegar
    300 g vegan butter or vegan spread
    1/2 cup agave (or any syrup syrup)

    Turn on your oven to 180 degrees Celsius. In a large mixing bowl, put the flour, sugar, baking powder, bicarbonate of soda and vanilla powder and mix well.

    Melt the butter and add the agave and oat milk and then slowly pour this mixture into the bowl with the flour mix until the batter is smooth. Distribute evenly between the three molds and bake for 25/30 minutes until an knife comes clean when cutting in hte centre of the cakes. Let them cool down before taking off the molds to prevent from breaking and prepare the vegan buttercream to set the cake.

    To prepare the cake for decoration, take one of the layers and place it in a cake base (or large plate). Spread a thick layer of buttercream and top with the next layer of cake, more buttercream and last layer of cake. Once the cake is built, if you want to decorate it more, go to our post on how to Ice a Cake.

  • Horchata (tiger nut drink)

    Horchata (tiger nut drink)

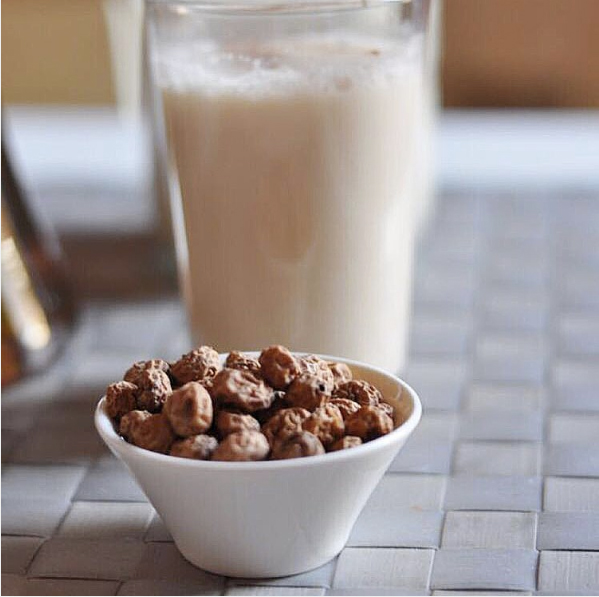
    When the days start getting warmer, regardless of where in the world I am, I crave horchata. Horchata is a traditional summer Spanish drink made with tigernuts or ‘chufas’ as we call them there. In essence is a tigernut milk, really, so its very easy to make your own at home. It has a few basic ingredients and take minutes to make (more…)