One thing that always surprises me when I visit health stores its the cost of fermented foods and drinks. It’s incredible the difference in cost between the homemade and store bought, particularly because the ingredients use to make fermented foods are veeeeeery cheap and, let’s be honest, the labor is almost nonexistent.
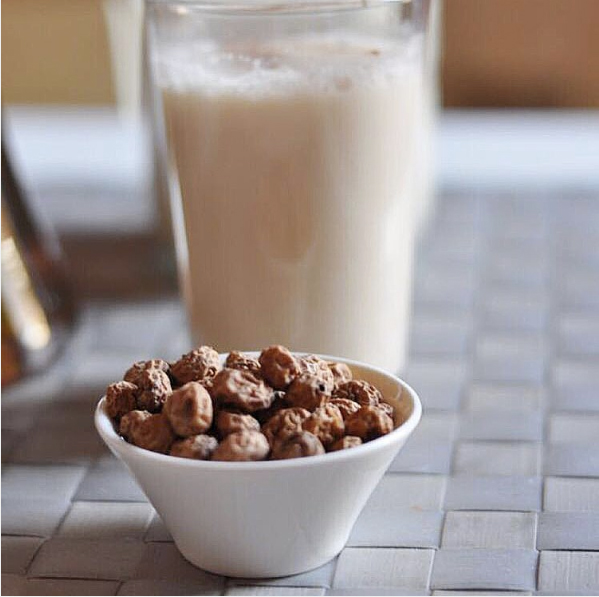
Fermented drinks are a good way to keep the gut flora balanced, incorporating beneficial bacteria while also being very pleasant to drink. The taste of kefir reminds me of that of a slightly sparkly lemonade and kombucha, another popular fermented drink, has a mild tea taste (I usually make it with white tea as its the milder caffeinated tea taste wise).
Making water kefir is so easy that it made me laugh when I first made it and realised I could always have it in the fridge ready to drink. It ferments rather quickly, usually 24-36 hours for the first part and 24 hours for the second part, so I always have a bottle at hand.
One very important tip when making water kefir is to remember that its best to use glass or plastic utensils. I always use glass jars for both fermenting or keeping in the fridge, and plastic for things such as the strainer. It is thought that kefir grains react strongly to some metals, and although steel is considered safe, it is best not to risk using metal utensils if possible to prevent damaging the grains. Lots of our kitchen utensils are not 100% steel even if the manufacturers say so- better safe than sorry 😉
This is what you’ll need to make it:
1.5 litres of good quality water
10/15gr water kefir grains
50gr organic unrefined cane sugar
a couple of dates
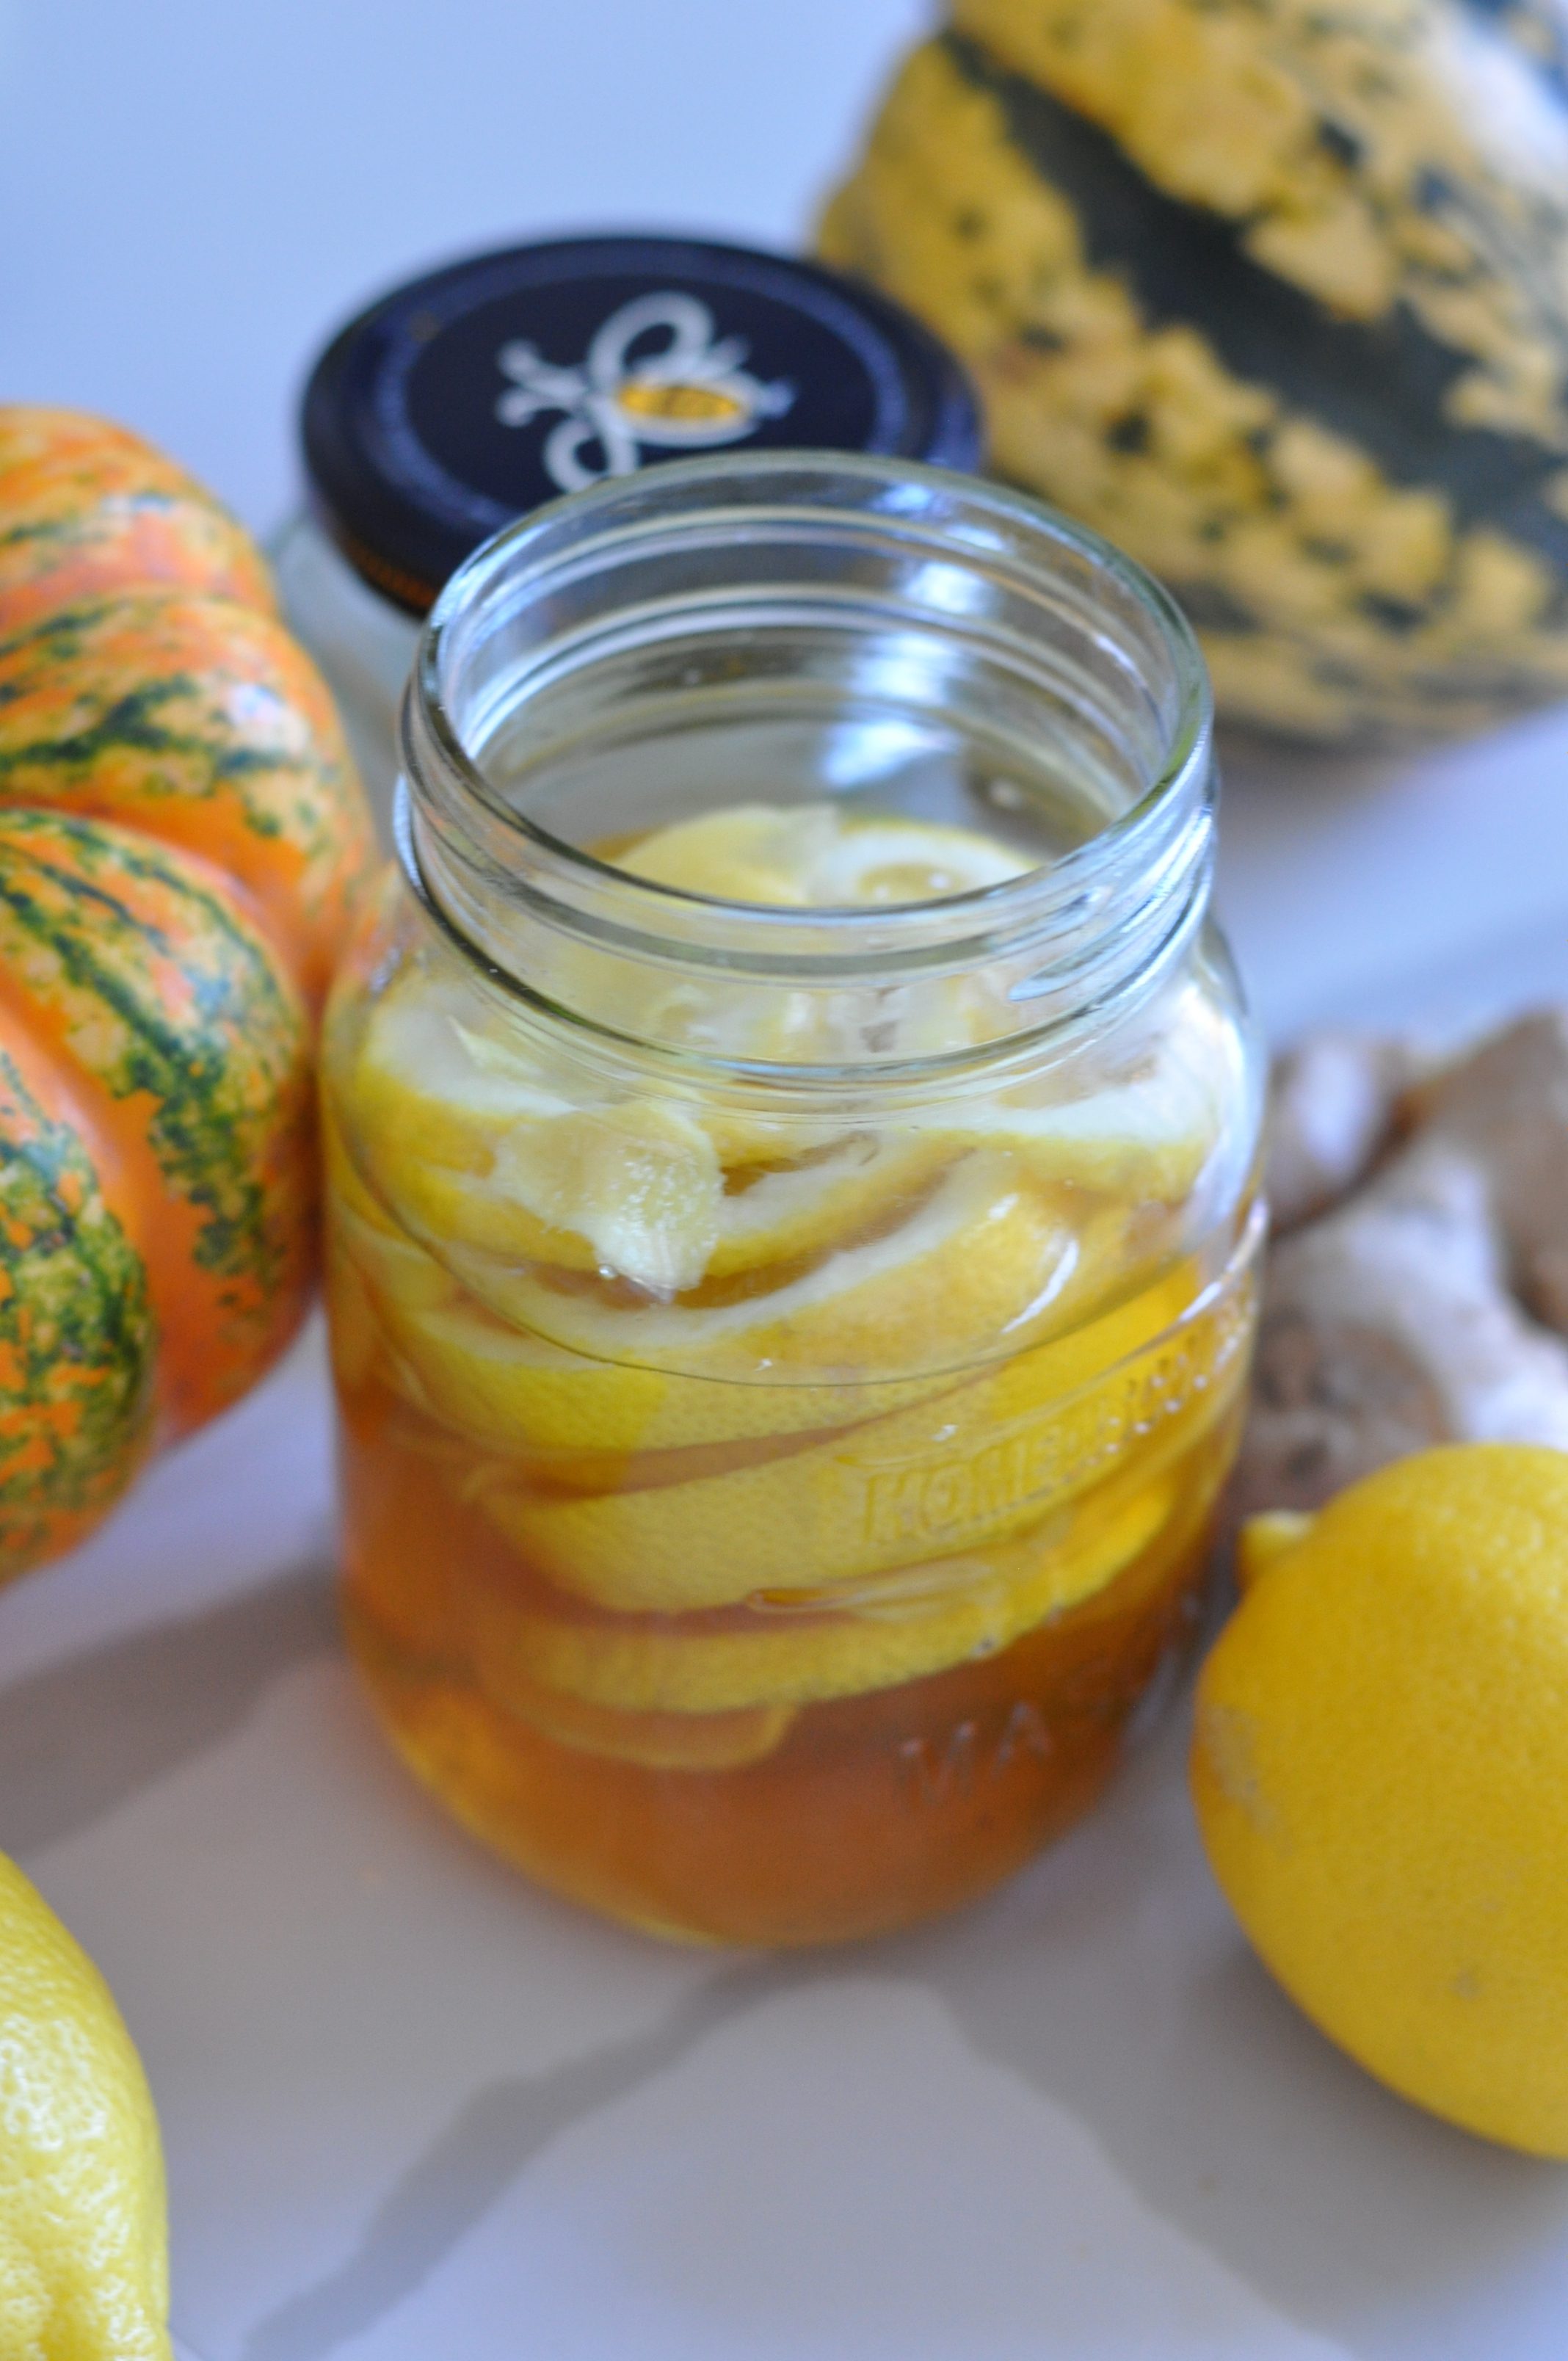
1/2 lemon (unwaxed)
pinch of Himalayan salt
125ml fruit juice or 10gr organic unrefined cane sugar
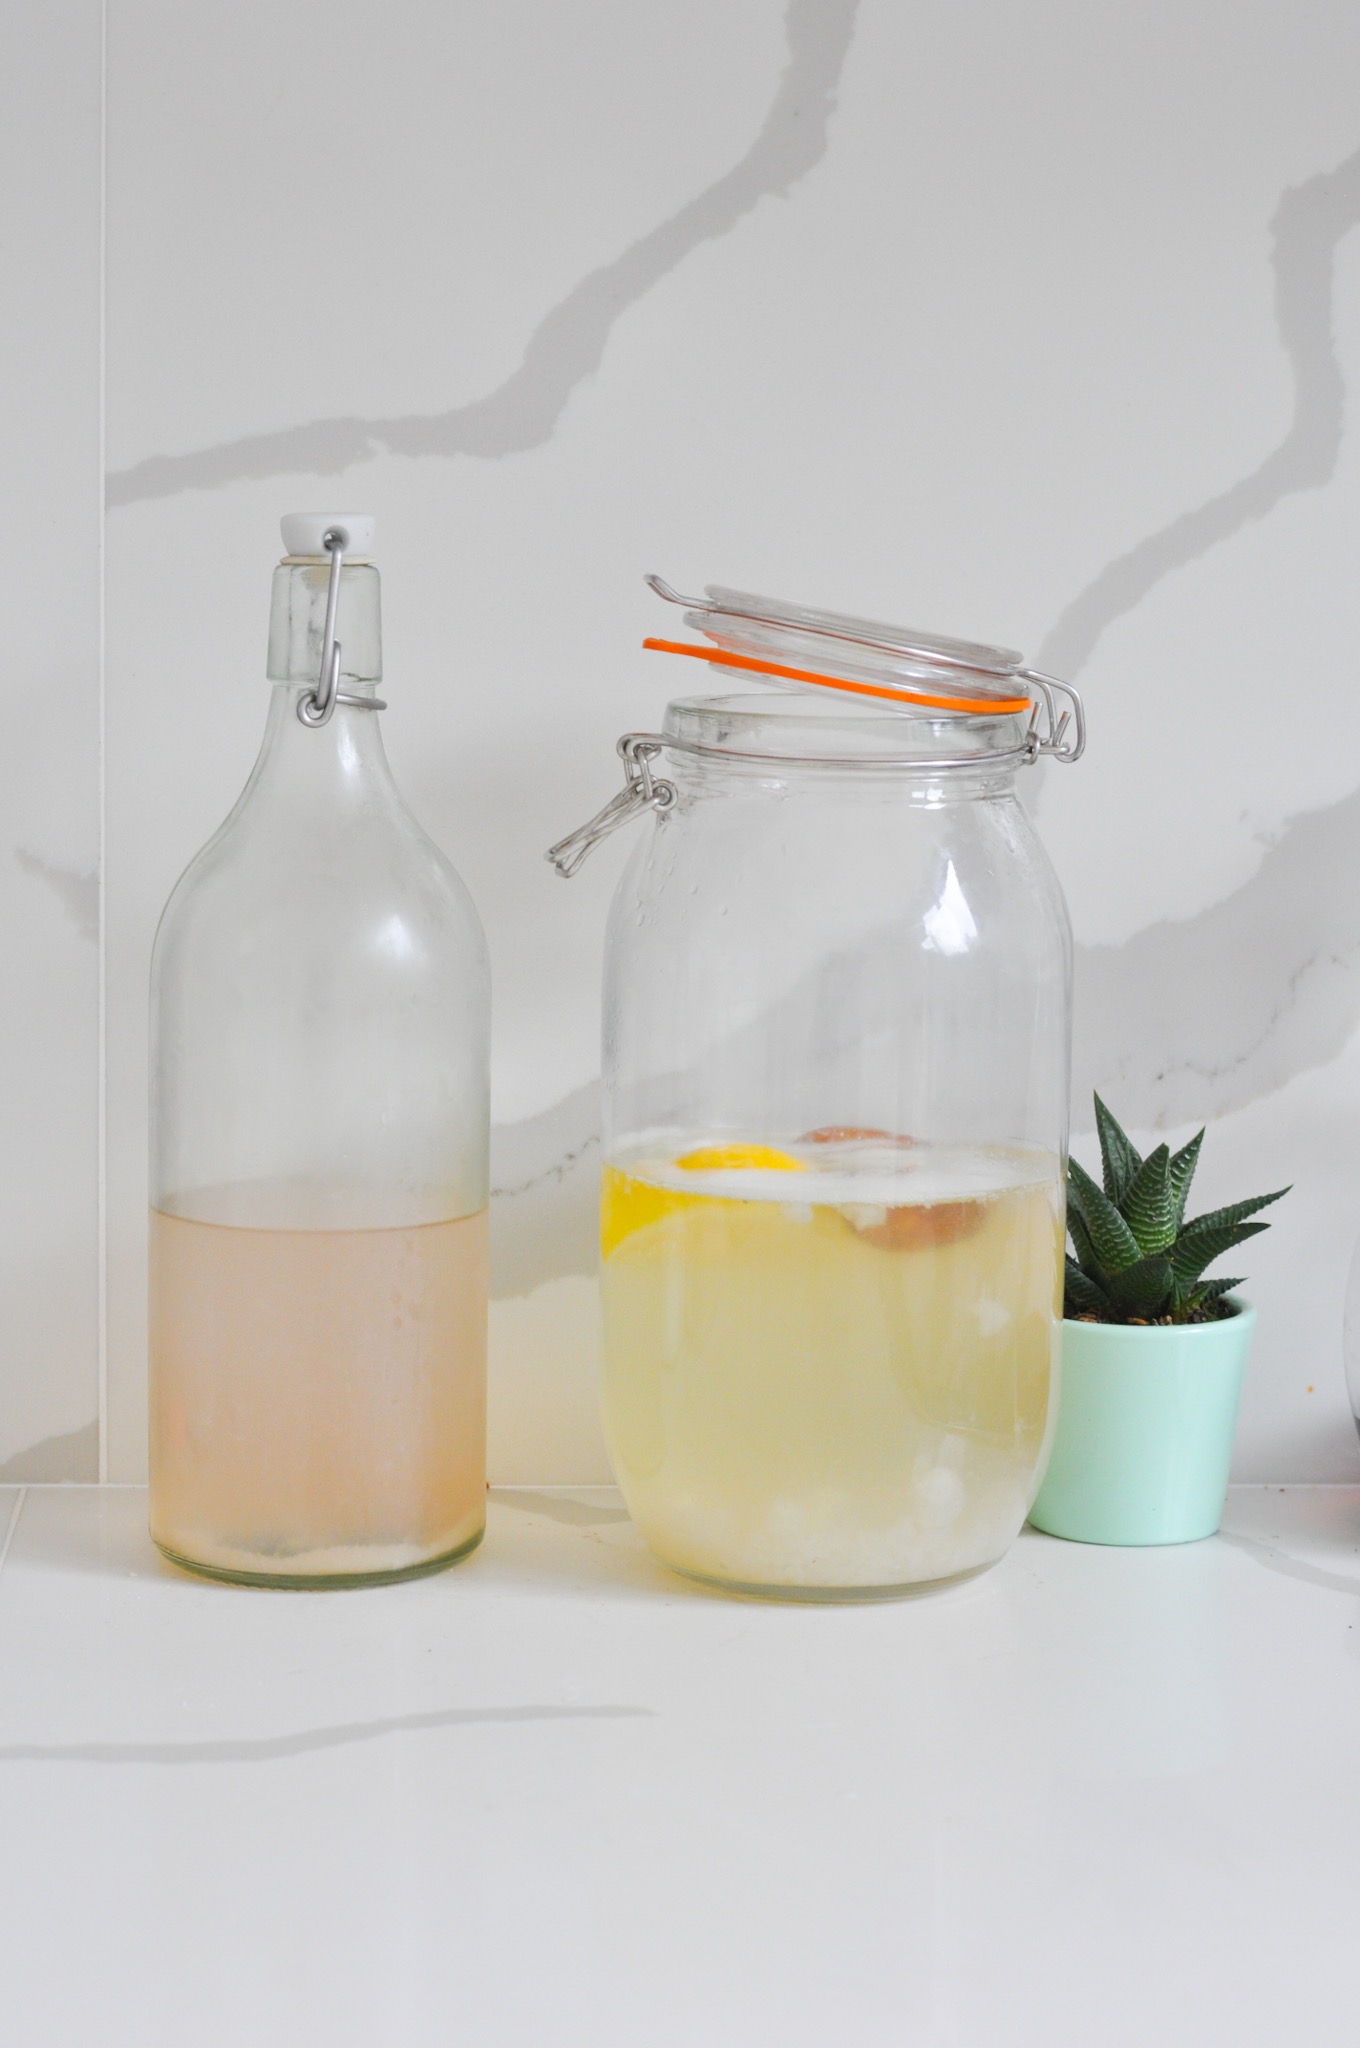
You will also need a large glass containers for the first fermentation and a couple of kilner top bottles for the second fermentation.
If you have any friends who make water kefir, ask them for some grains. As you can see in the photo, they look like translucence little blobs. Make sure you have the right kind of grains, as the kefir grains for milk do not look translucent but white. You can also buy good quality grains from Happy Kombucha on this link. Once you have been making kefir for a few weeks, you will have your own established culture and will be happy to pass on to friends and family as they multiply quite quickly. I keep some grains frozen just in case the current culture I am using get contaminated or goes off. For holidays (or when I don’t fancy making water kefir) I simply make a mix of water and sugar, then put the grains into it I place it in the fridge.
Basically, all you need to do is bring the water to boil, add Himalayan salt and sugar, let it cool down and the sugar should also dissolve in the meantime. Once is only slightly warm to the touch, add the kefir grains, a couple dates /figs and lemon pieces and let it cool down. Place a muslim cloth or a kitchen towel on top of the container opening to prevent flies to fall in and place in a warm place in the kitchen counter for 24/48 hours. I usually taste it after 24 hours to check on how sour it is by then. If it tastes already fermented or slightly sour you’ll need to keep a close eye on it (and taste regularly) until it does no longer taste sweet. Once that happens it is ready for the second fermentation.
Strain the water kefir into the bottles discarding the lemon and dates. At this time you can use the kefir grains to start yet another batch of the first part of the fermentation or simply put them into water and sugar mixture into the fridge for safe keeping.
To each 1lt bottle you can either add 25ml of a fruit juice of your choice or 5gr of organic unrefined cane sugar to start the second fermentation process or the carbonation process. This is when the drink becomes ‘sparkly’. For this to happen its very important to make sure the bottles close very well so kilner top bottles are usually the best to use for that. I love to make sparkly lemonade (I use a combination of organic lemon juice and a bit of sugar to make the carbonation happen) but pineapple juice makes an awesome drink as well so make sure to give that a go! After around 24 hours of the bottles staying very tightly closed on the kitchen counter, they should be carbonated enough. If not, please close them and leave them for a further few hours until they are. When sparkly enough simply put in the fridge, but don’t forget to occasionally open them to let the excess of carbonation to leave.
Commercially purchased kefir and kombucha are usually highly filtered to prevent the bottles from exploding due to the build up of carbonation even when kept refrigerated, which always makes me wonder how much of the cultures remain… homemade is best anyways!